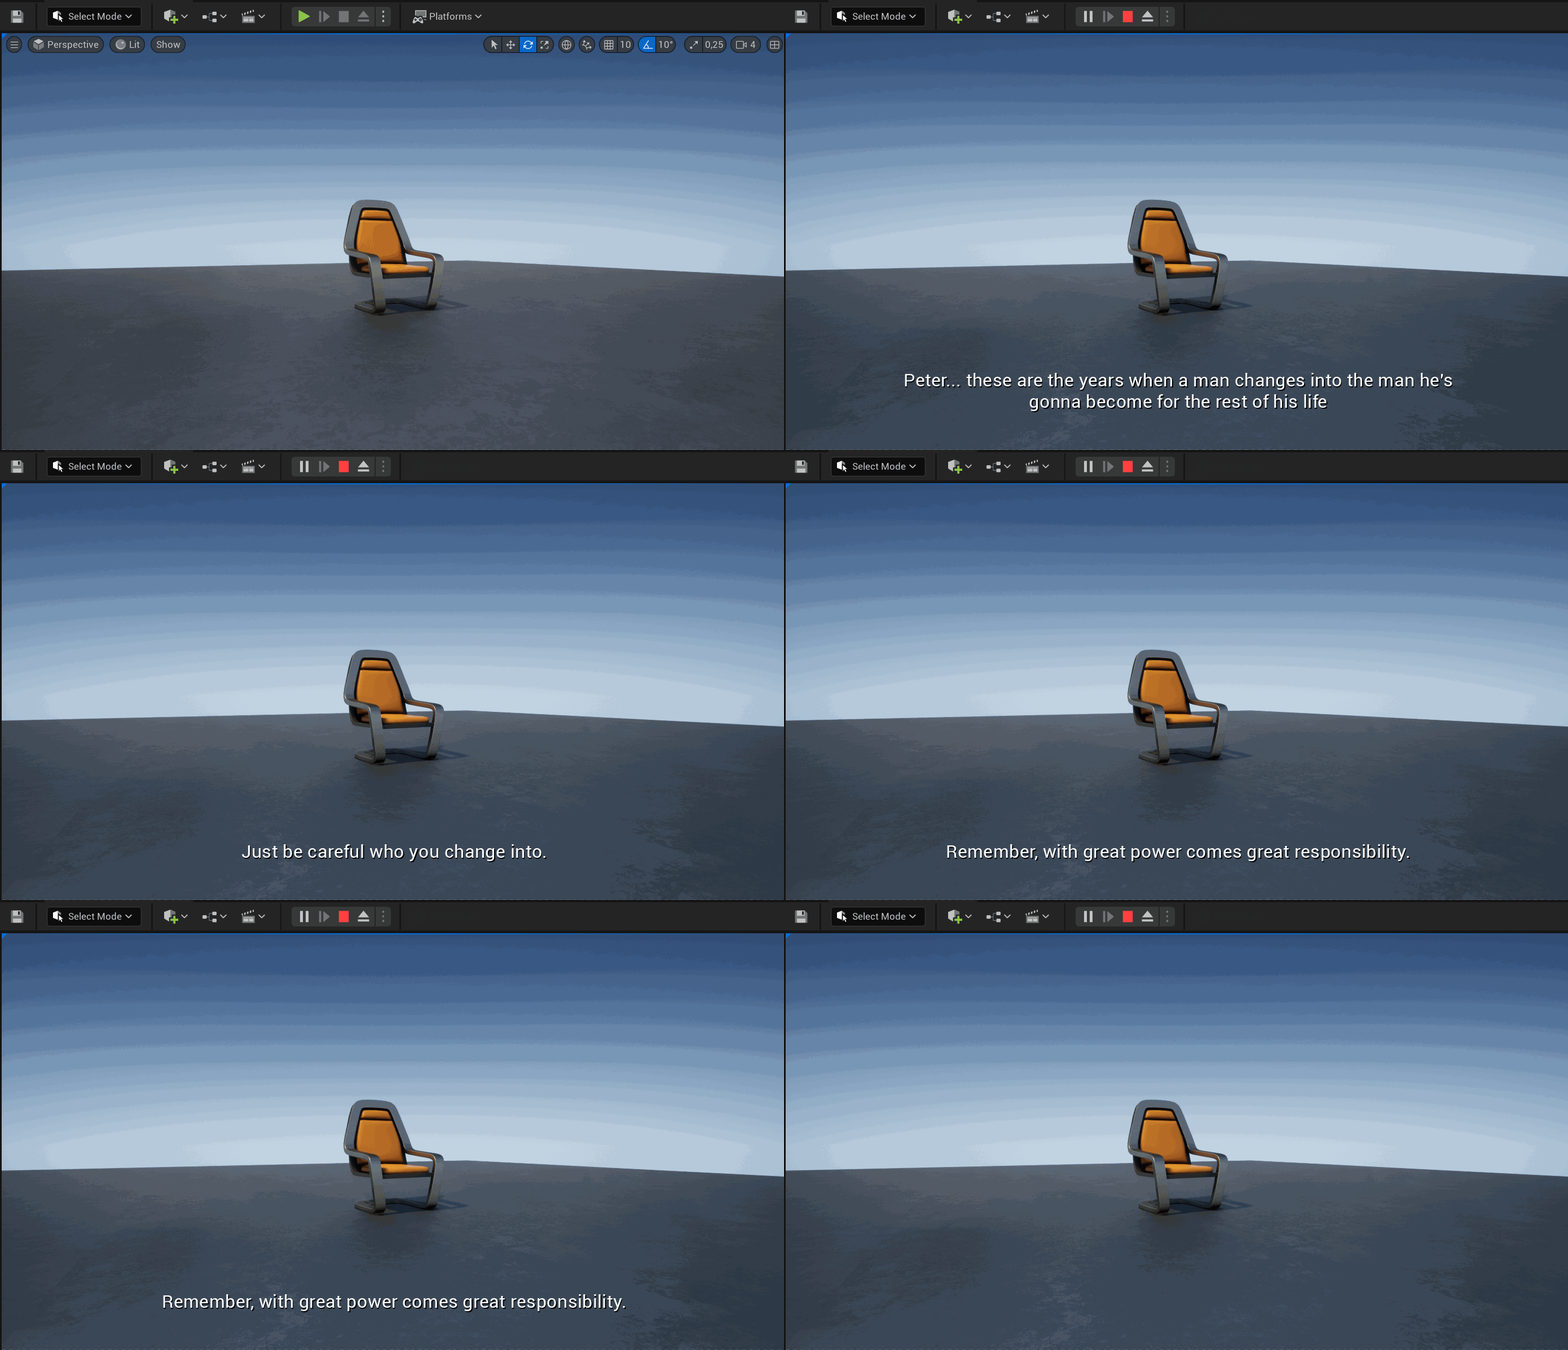
The following guide shows you the simplest way to display text directly on-screen. You could also follow Expressive Text inside UI if you already have a “master UI” and want to display the text nested to it.
The simplest way to display text directly on screen is using the Blueprint Functions provided:
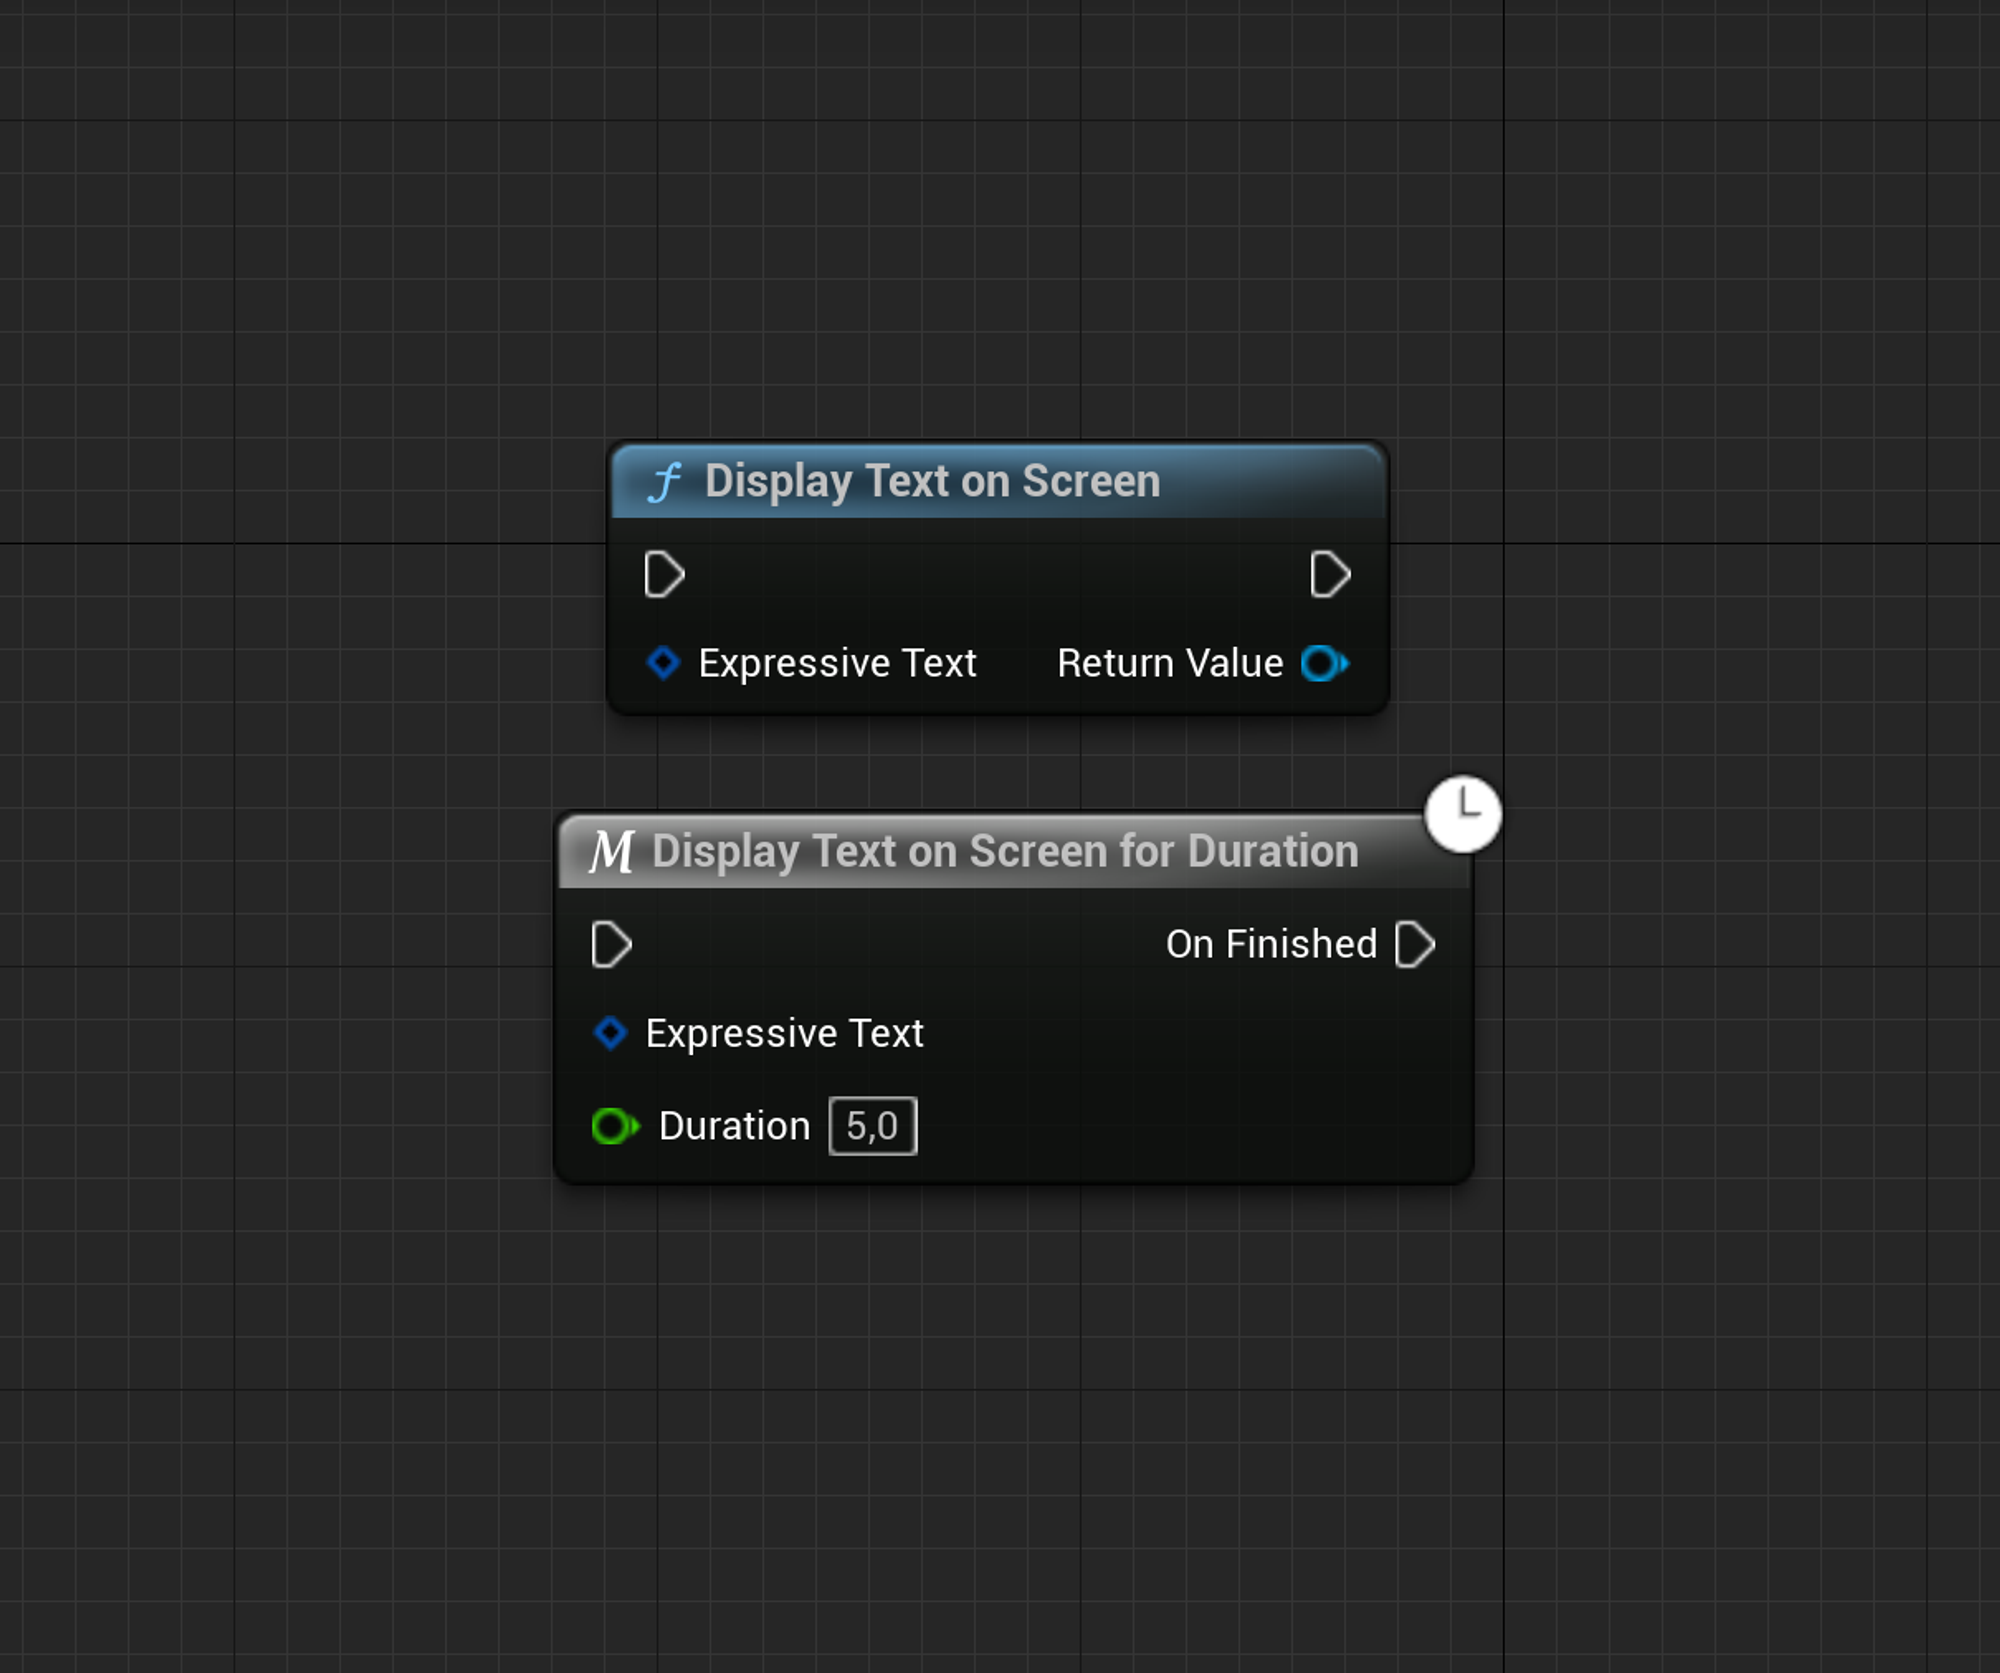
Here’s how we use them to display three sentences in subtitle style:
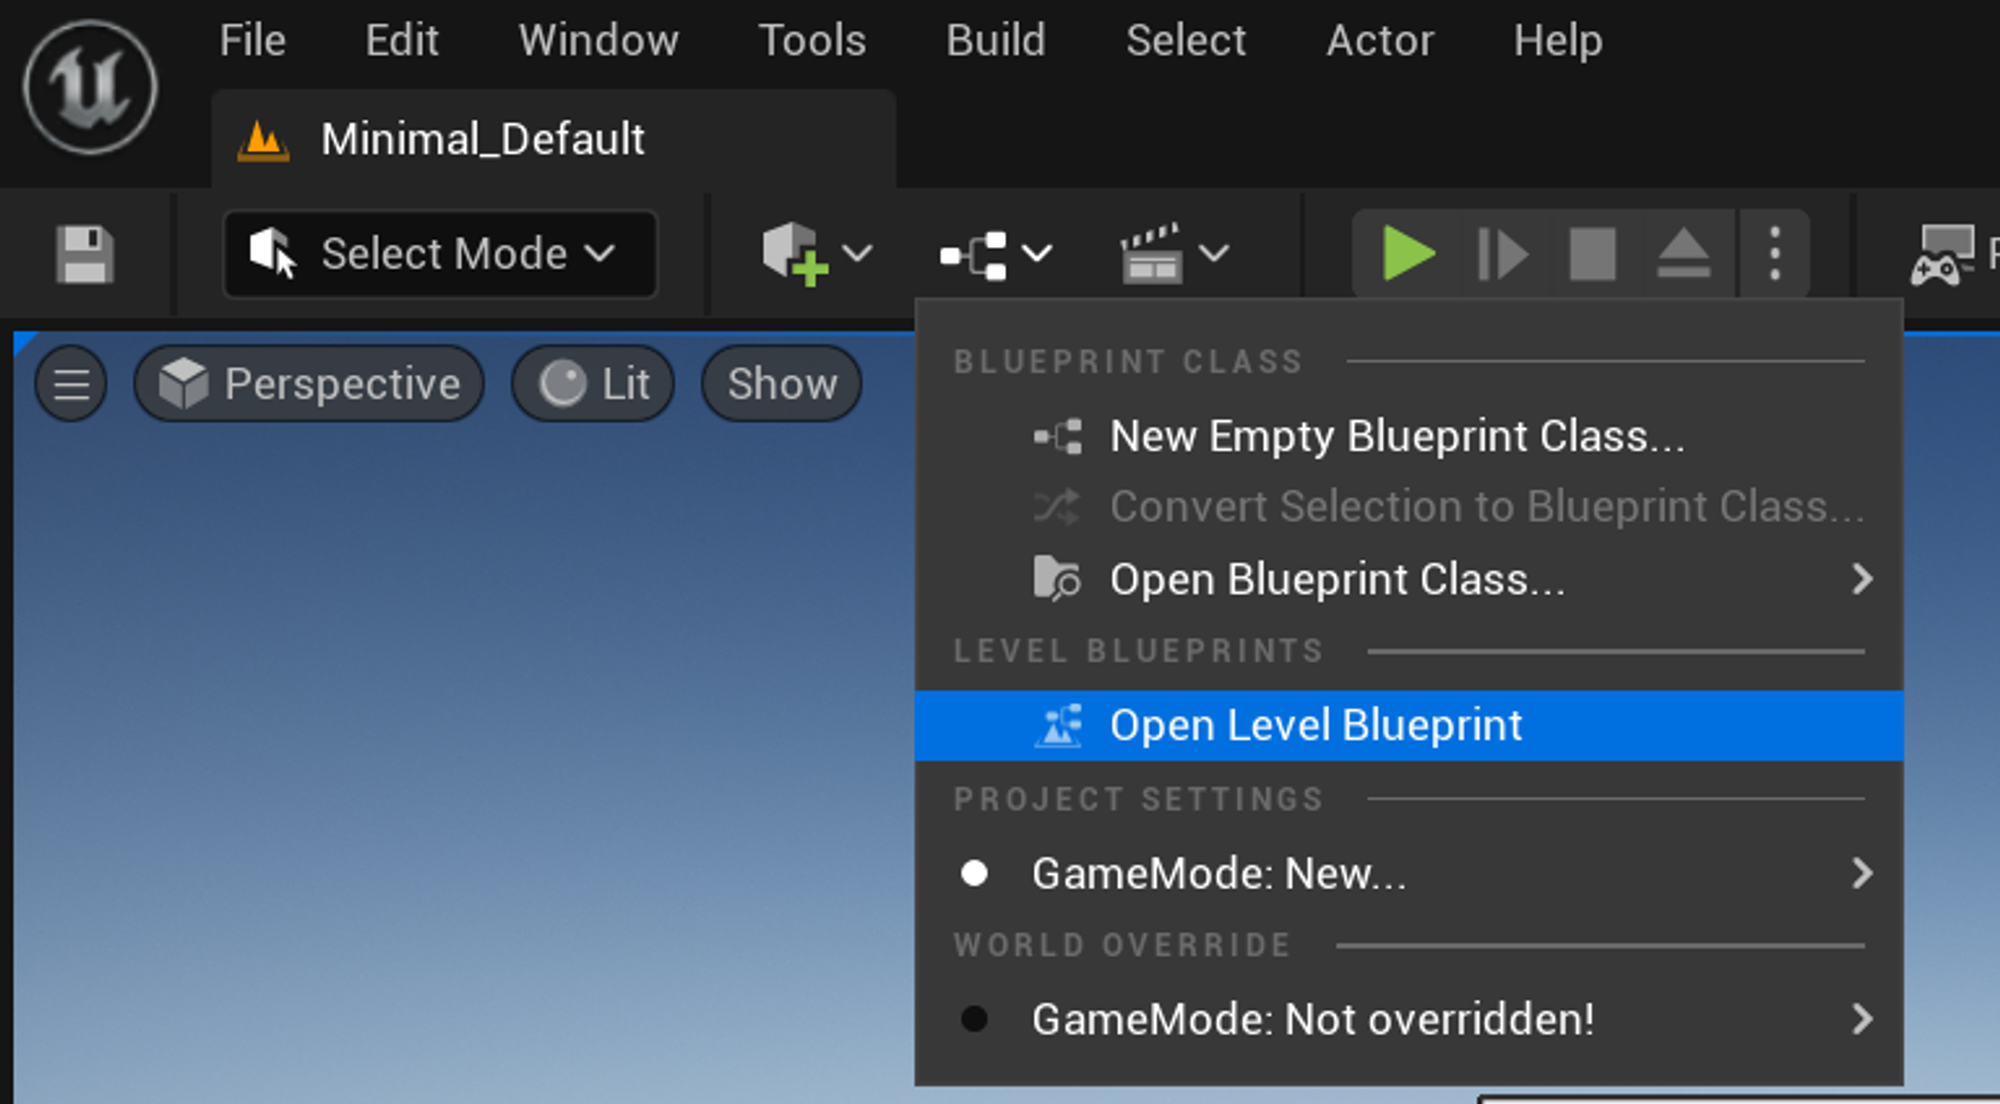
Open the level blueprint (We’re doing this on the level blueprint but you could do it from any other blueprint)
First, create 3 ExpressiveTextFields variables that are going to contain the 3 different sentences respectively:

And here’s the value for LineOne:
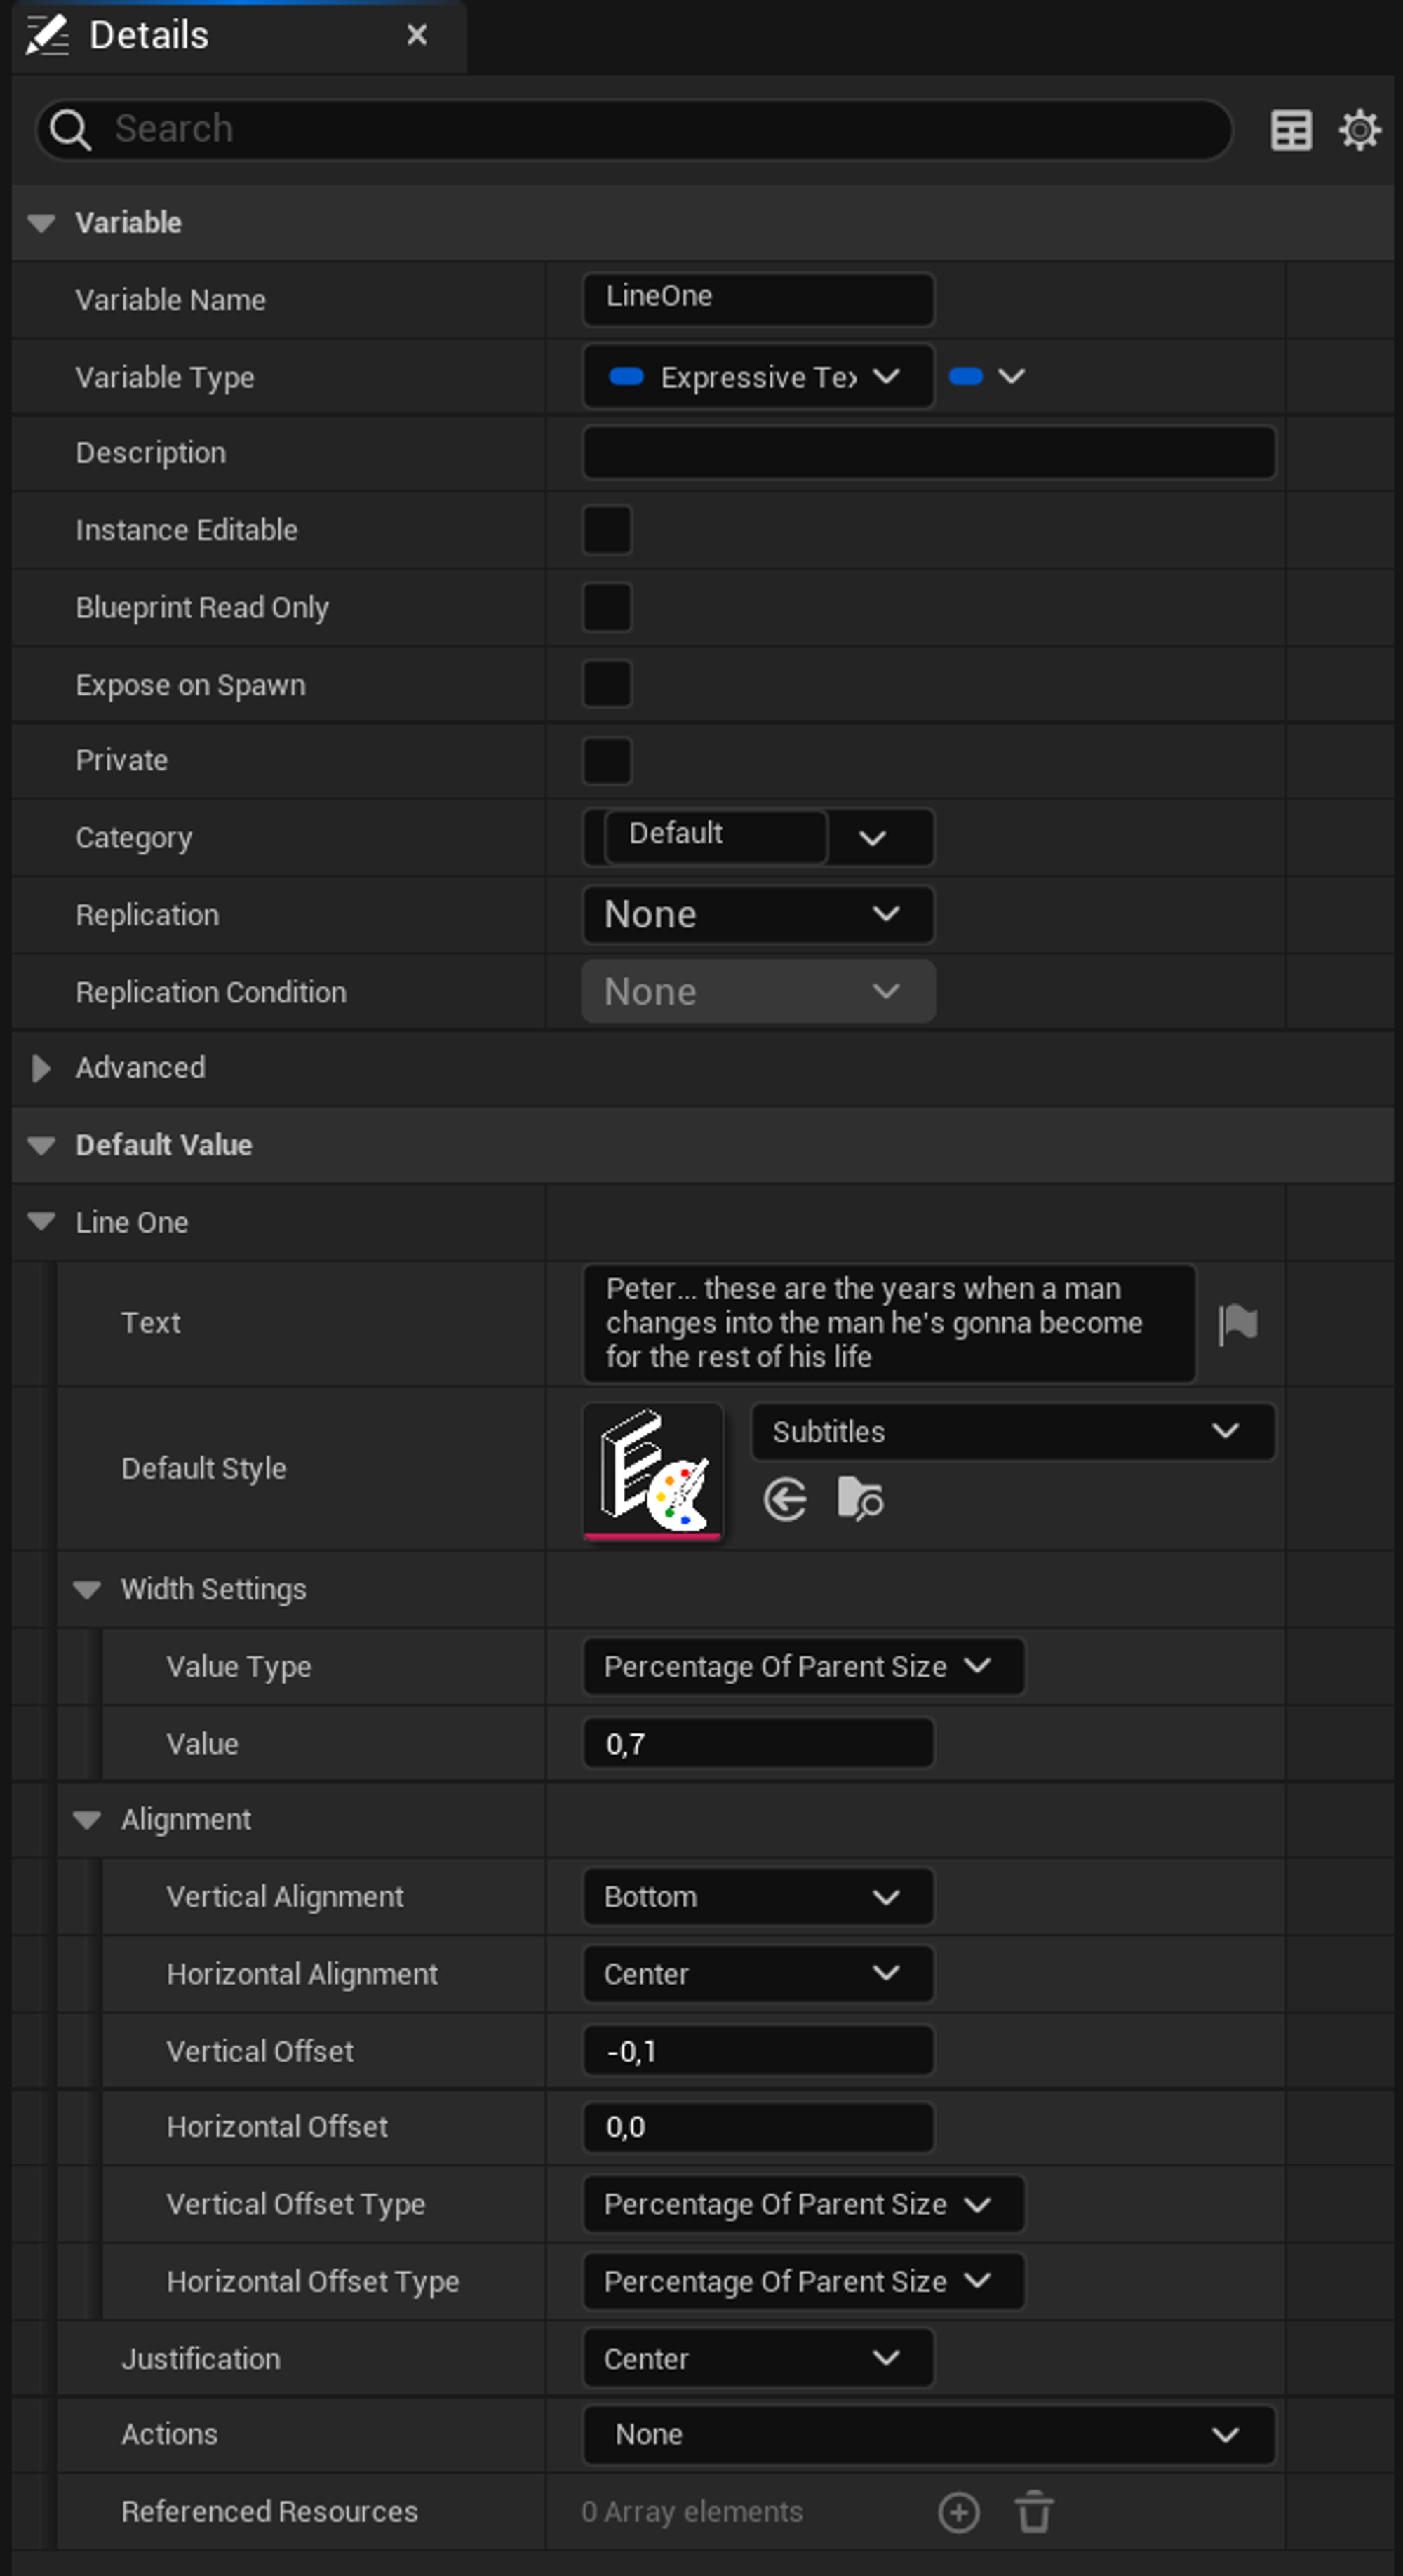
- Setting Default Style to “Subtitles” since that’s the only style we’re going to apply.
- On Alignment, we set the text to be centered at the bottom and apply a 10% of parent offset from the bottom — check out Justification, Alignment & Positioning to learn more about how these parameters work.
- Width Settings is set to only occupy 70% of the parent size (i.e. the game screen) so it overflows sooner and doesn’t fill the screen with text from end-to-end.
- Justification is also set to center.
- Finally, we set the text to be whatever we want.
For LineTwo and LineThree we use the same settings as above, changing the text only.
Now it’s time to plug these variables into the macro:
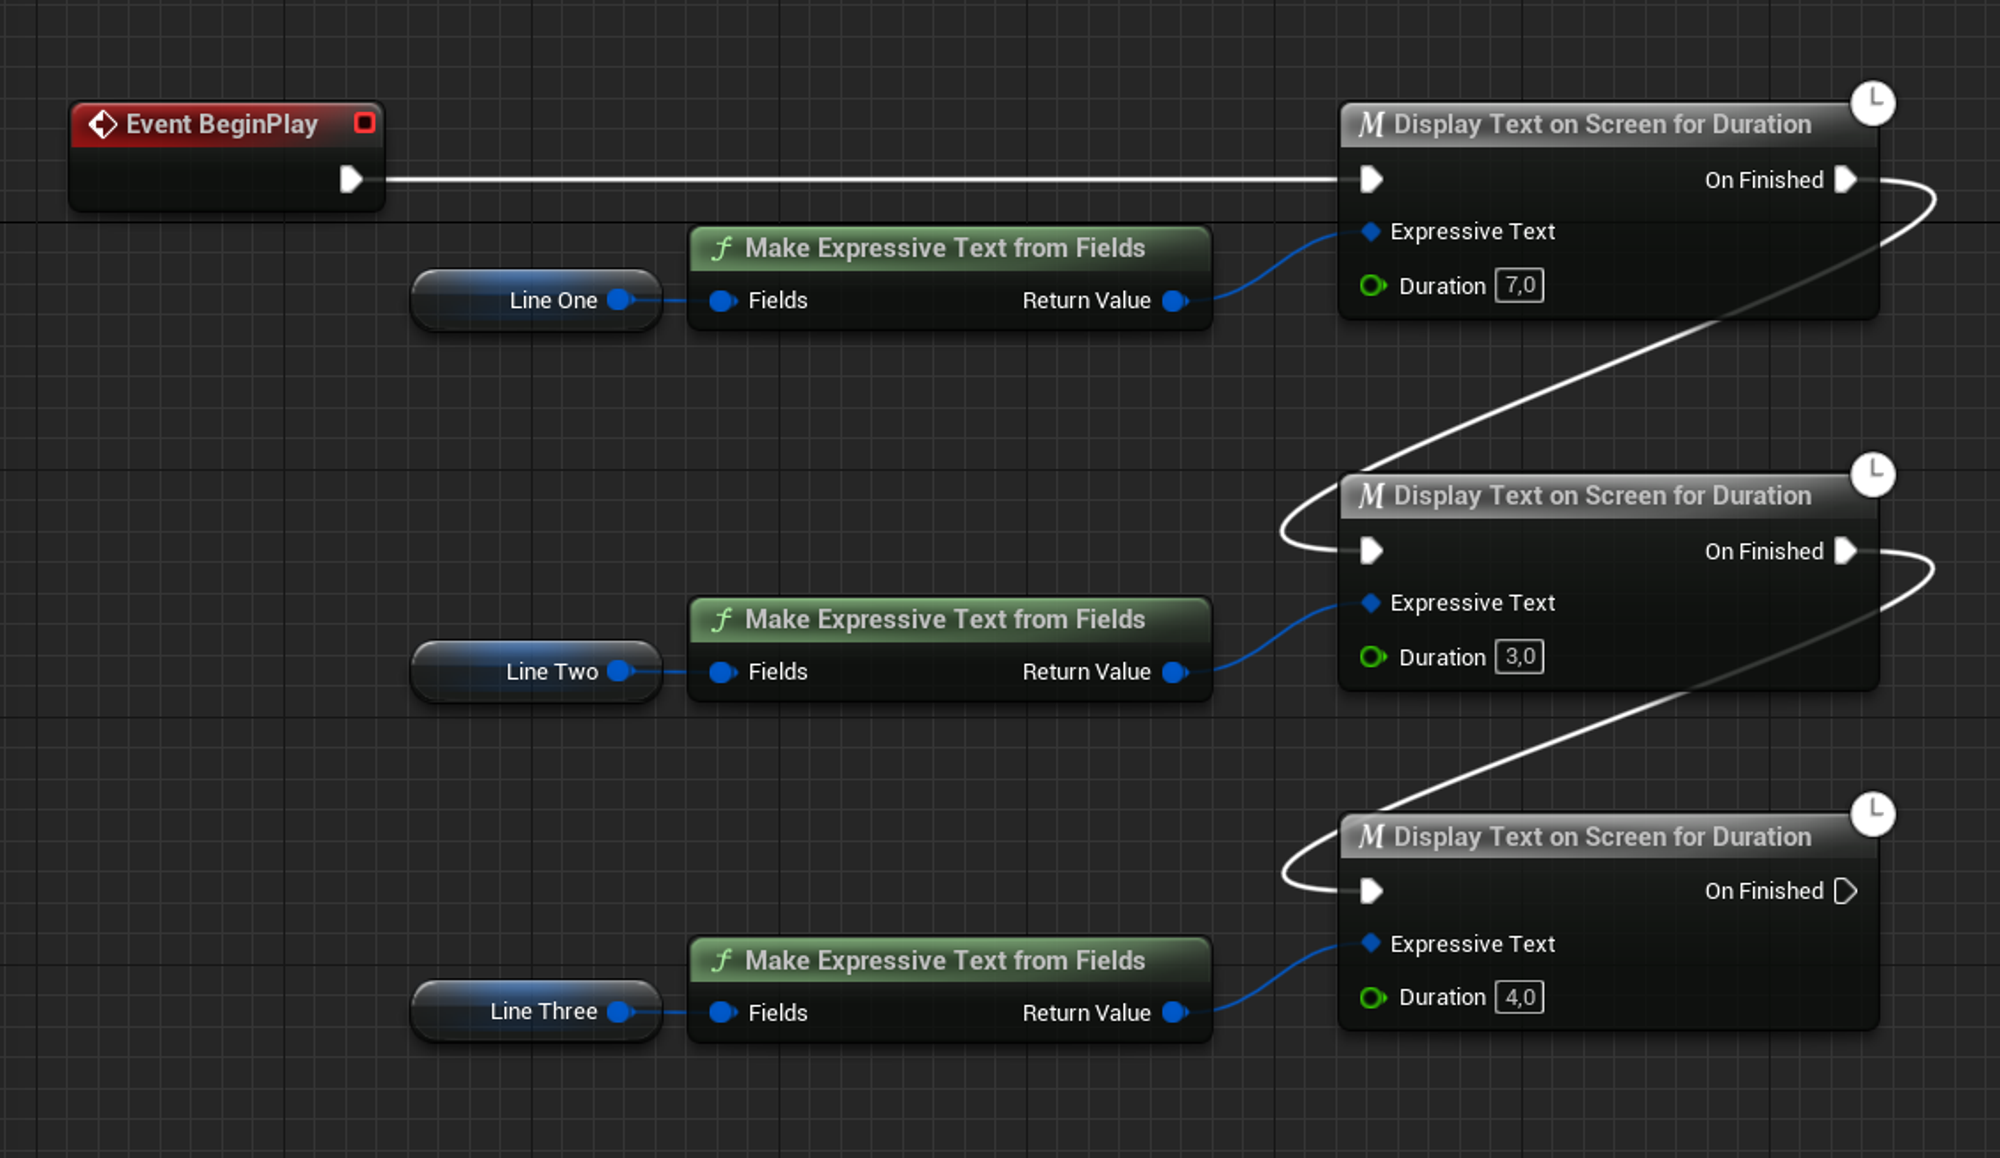
In the macro itself we’re able to define how long to display the text for - something useful about this macro is that it only continues execution when the given time has passed, meaning we can chain them together to transition between sentences.
Now you can hit Play ▶️ and see the results:
