If you’re looking to import a OFL (Open Font License) font from Google Fonts, check out how easily you can do it using our Google Fonts importer.
Importing custom fonts is an important feature to accurately style the text and respect the glyph/alphabet systems of multiple languages. While the process starts with the basic procedure of importing font assets to the engine, there are a few necessary steps to have them available on the plugin’s Style Editor.
A comprehensive guide on how to import fonts to the engine is available on Unreal Engine’s documentation.
After you’ve imported the custom font to your project, you need to signal which font assets are to be used on the plugin’s.
Adding a Expressive Text Font wrapper
Imported fonts need to have an ExpressiveTextFont wrapper asset so the plugin can automatically gather and interpret it. This also provides better control on these assets, more specifically how they should get loaded and cooked.
Creating a font asset
To get started, you need to create a Font Asset file and then assign a Font Face asset or an imported font file. There are different methods to create it, so just pick the one suitable for your needs:
Method A - Drag and Drop
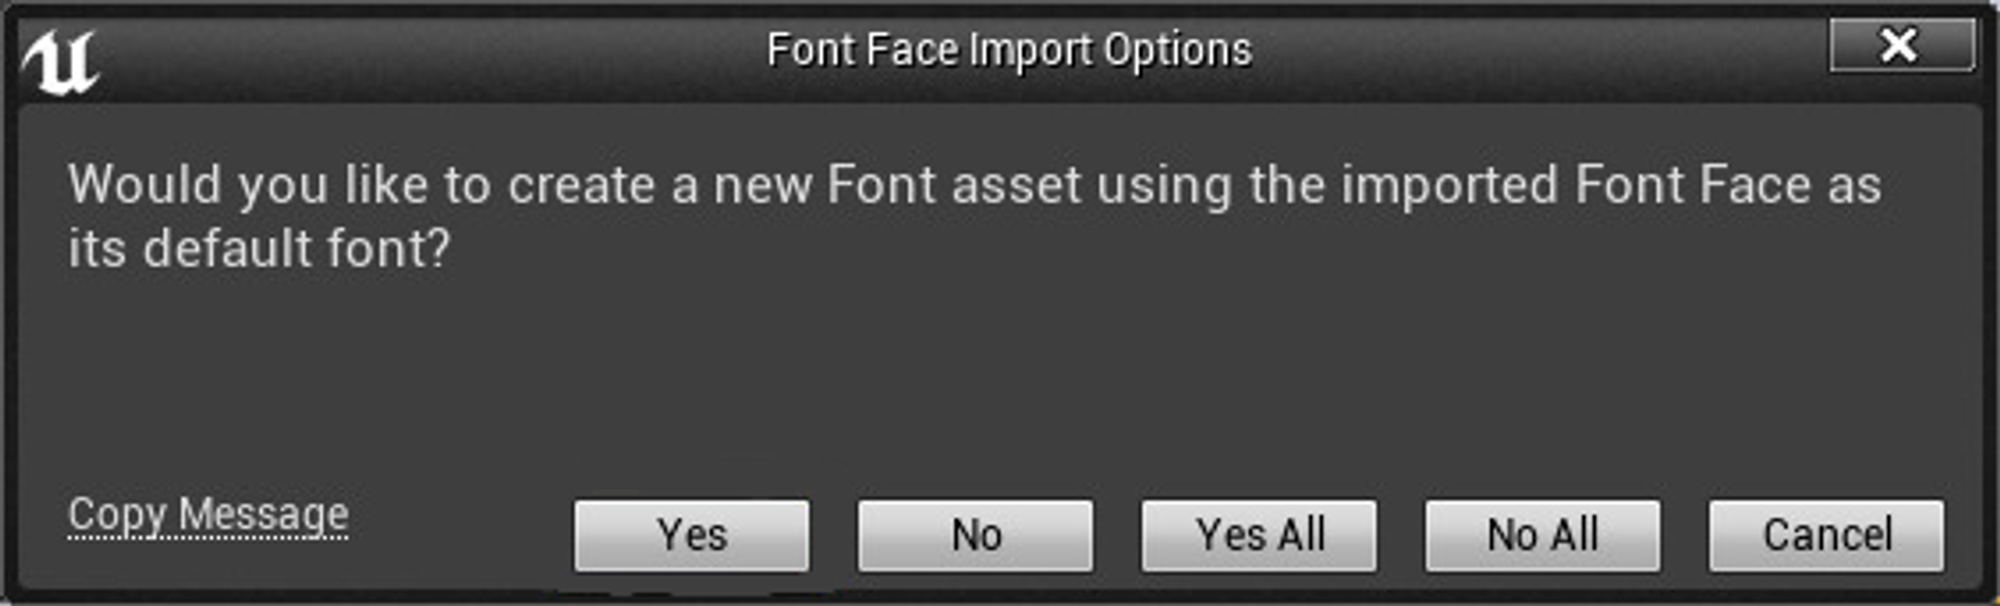
- Drag your custom font file to the Content Browser (or use the Import button). You will get a prompt message to create a new UAsset file. (you should click yes once)
Method B - Content Browser
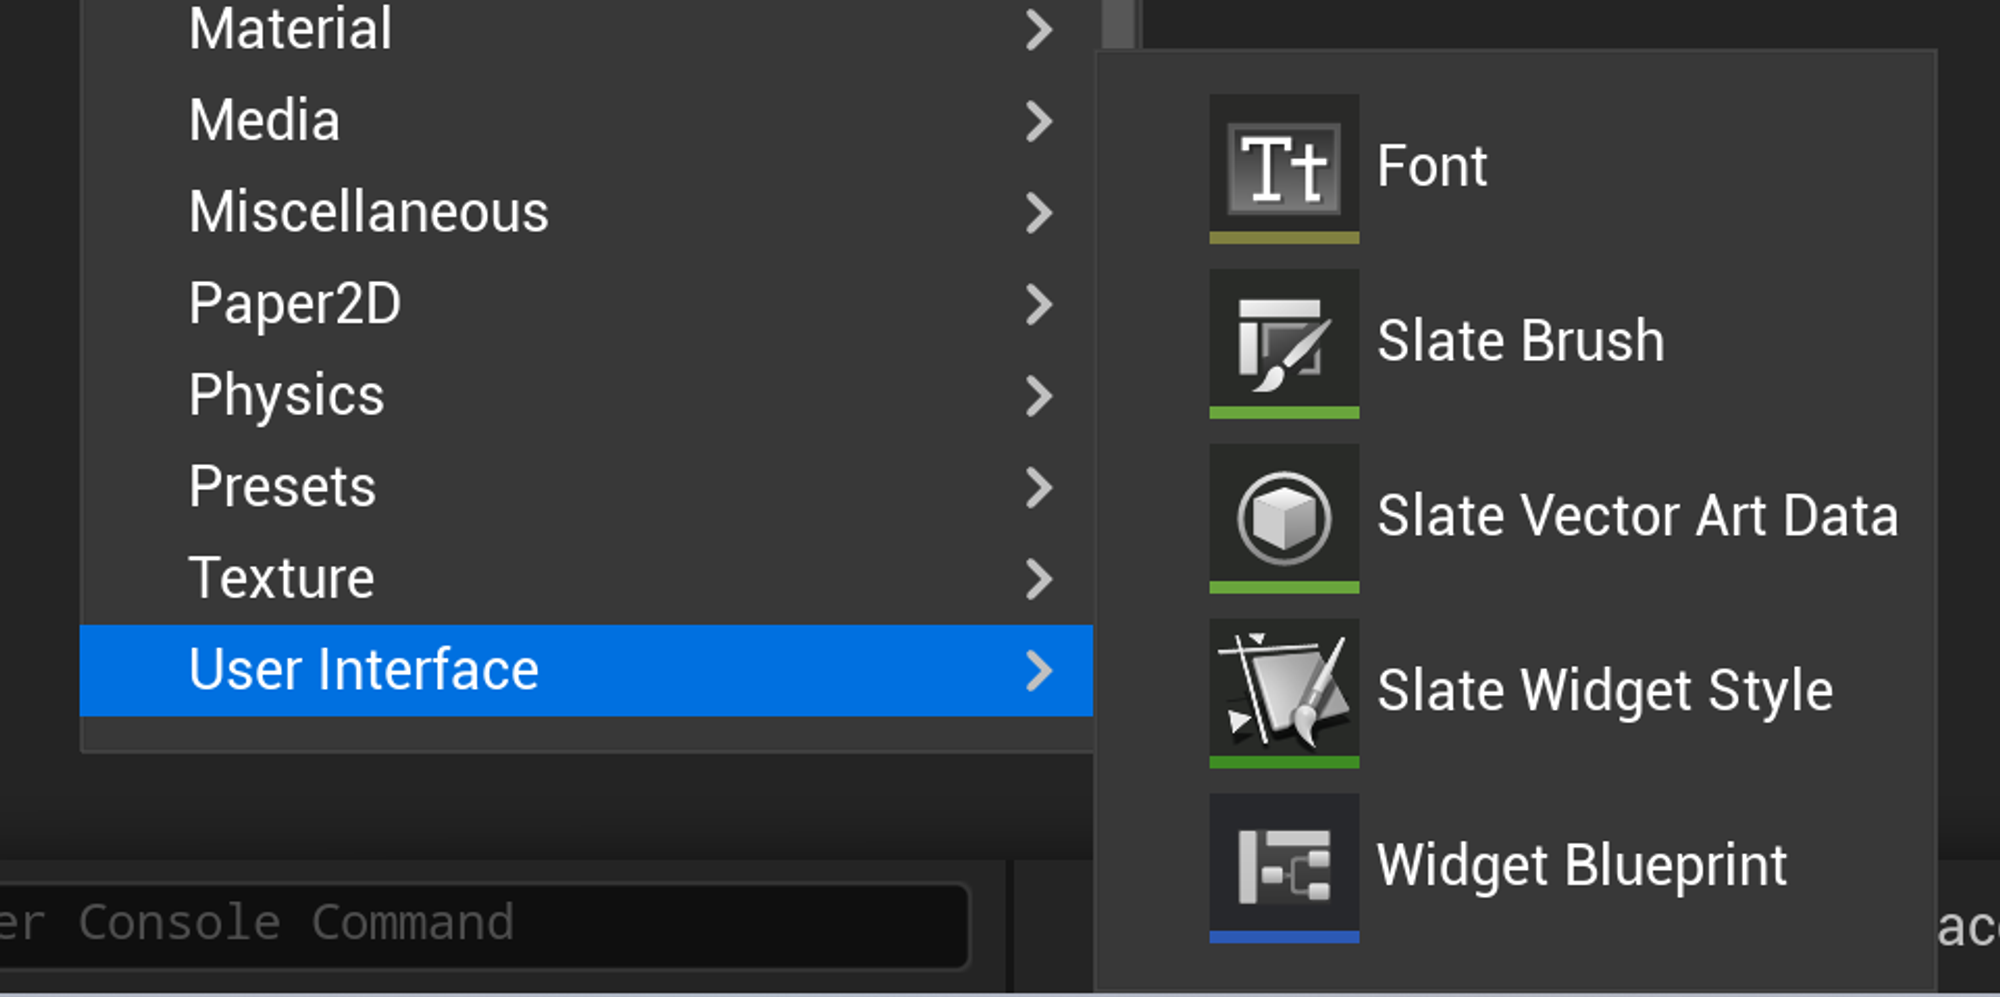
- Click the Add New button on the Content Browser and select the Font option found under User Interface.
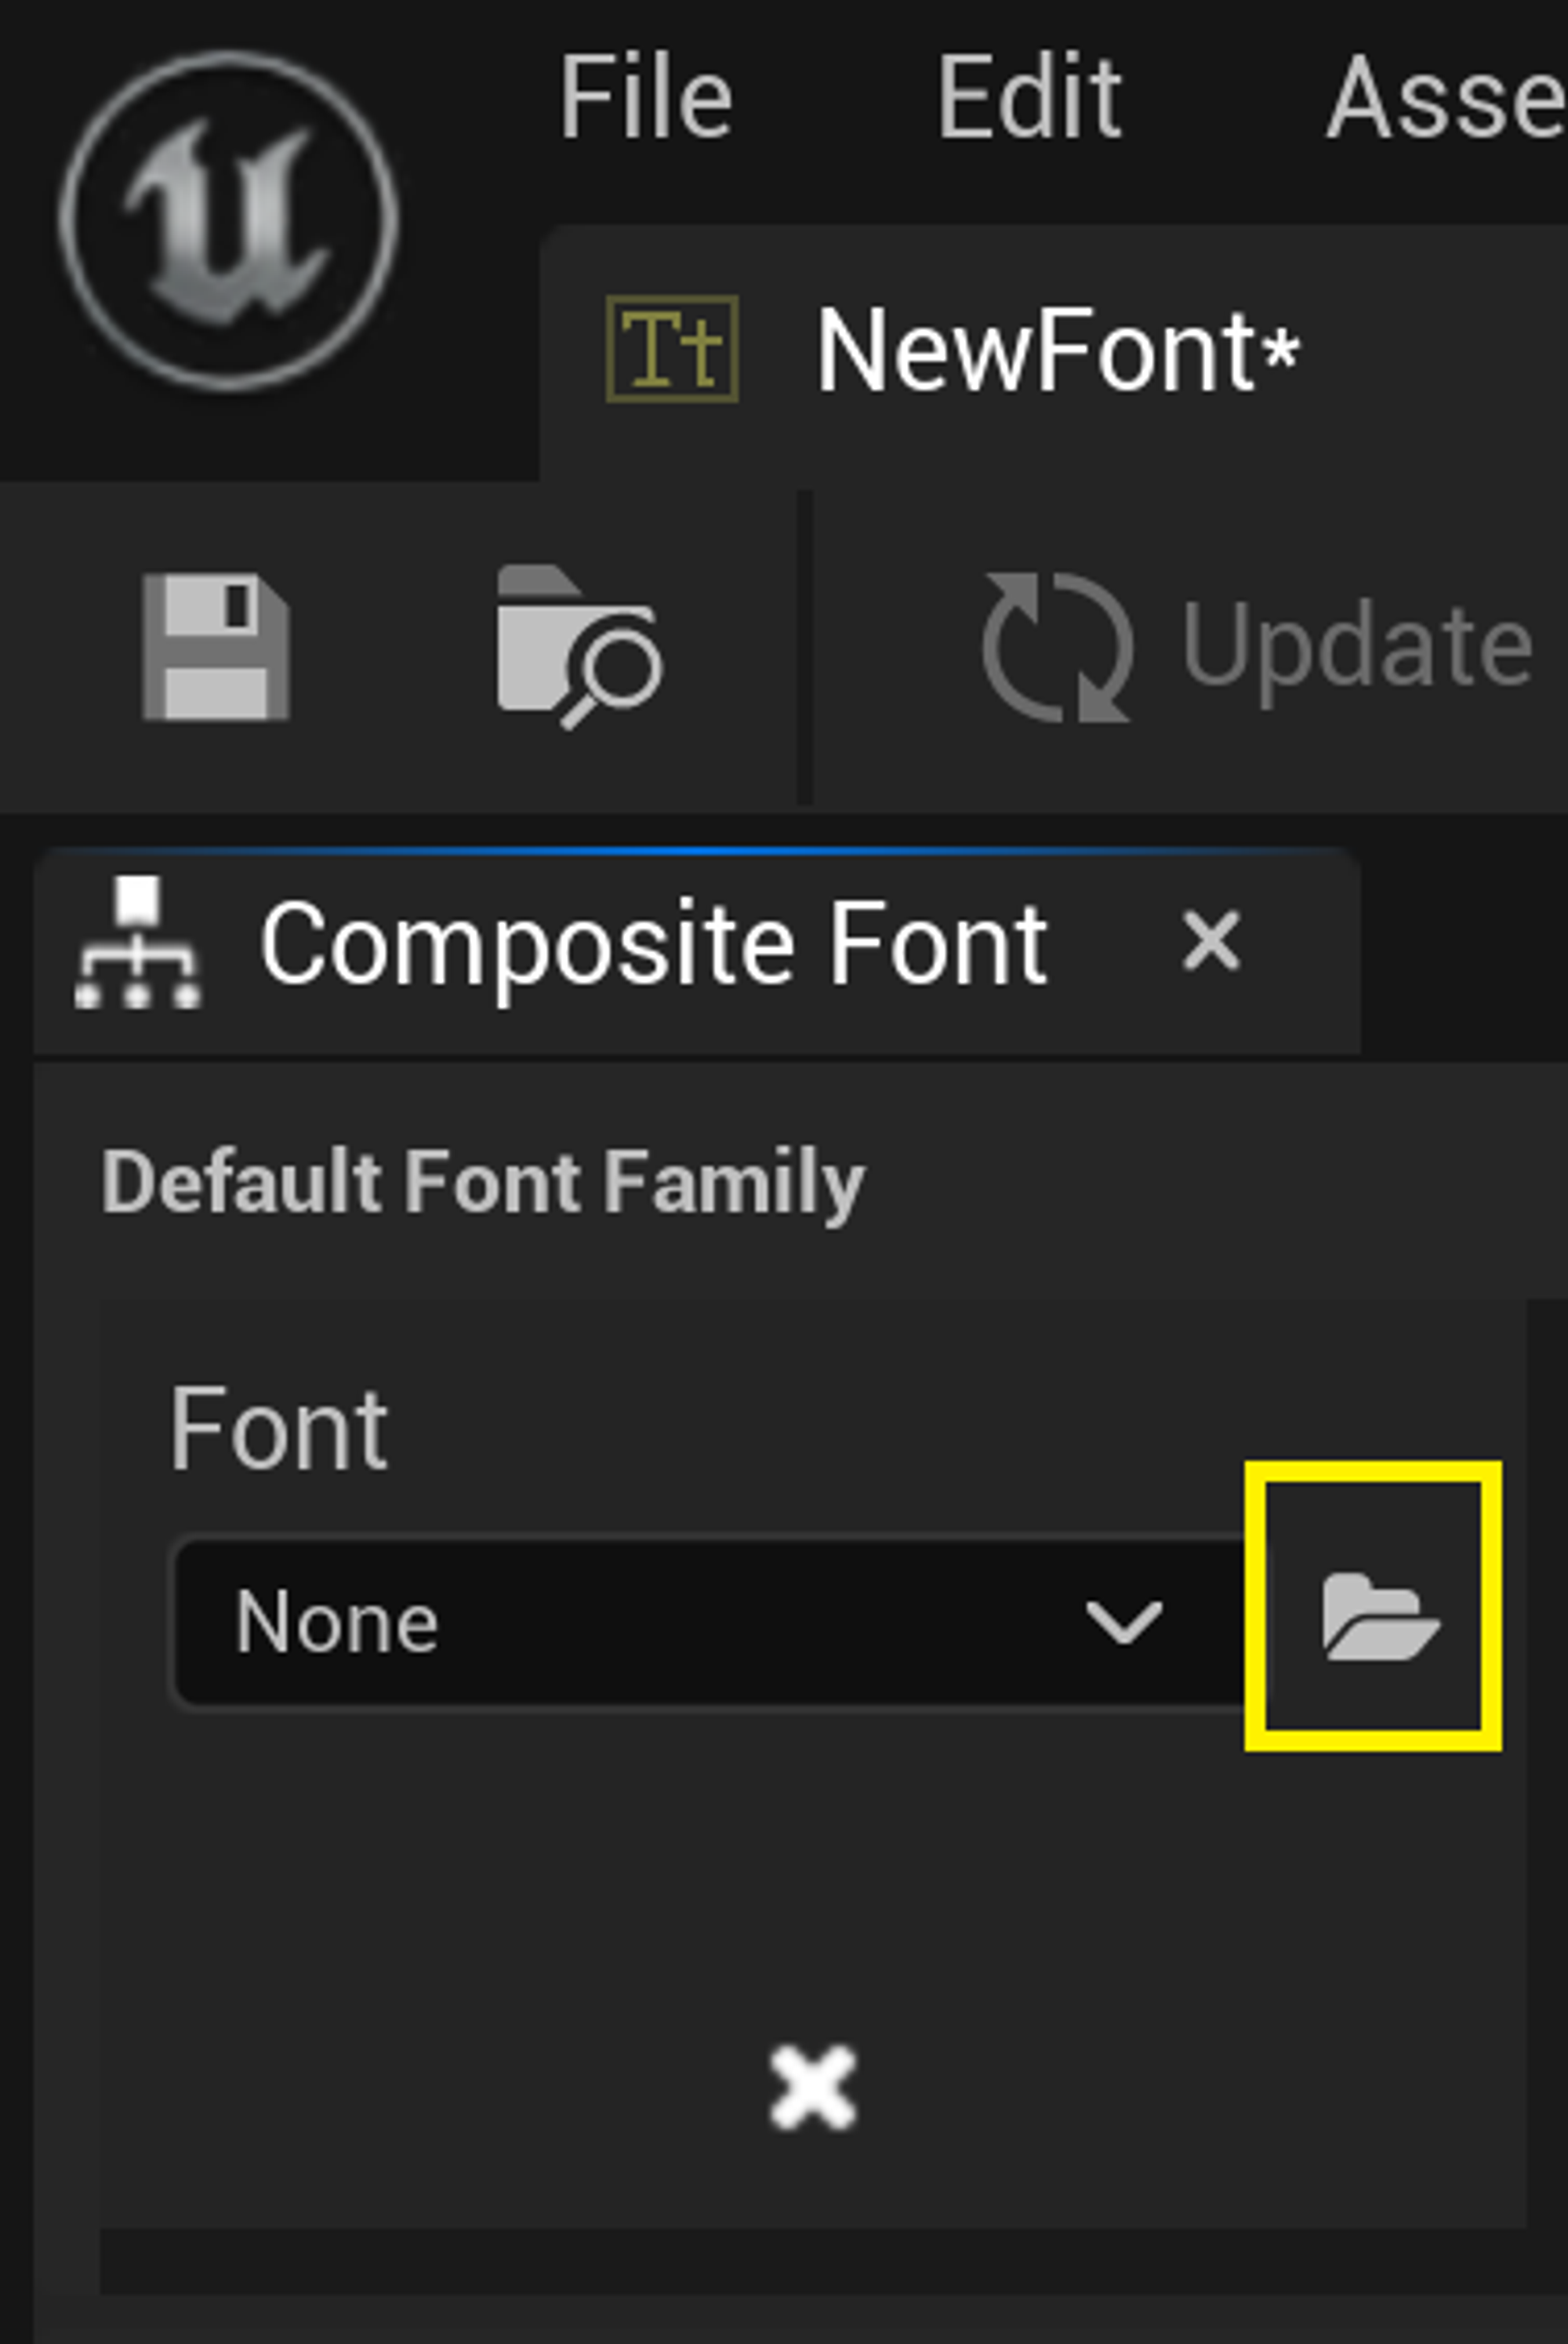
Then open the Font Asset and click the folder icon to assign a custom font file.
To create it, right-click on Content Browser and select Expressive Text Font under Expressive Text category. Open the file and assign your imported font.
The name on the ExpressiveTextFont asset should match the common name of the font since tags will use this name to reference it!
Adding variable fonts more typefaces ( Italic, Bold, etc..)
A variable font allows you to add different typefaces under the same font family, for example Italic or Bold. To know more about typefaces and how to use them, check out Parameters.
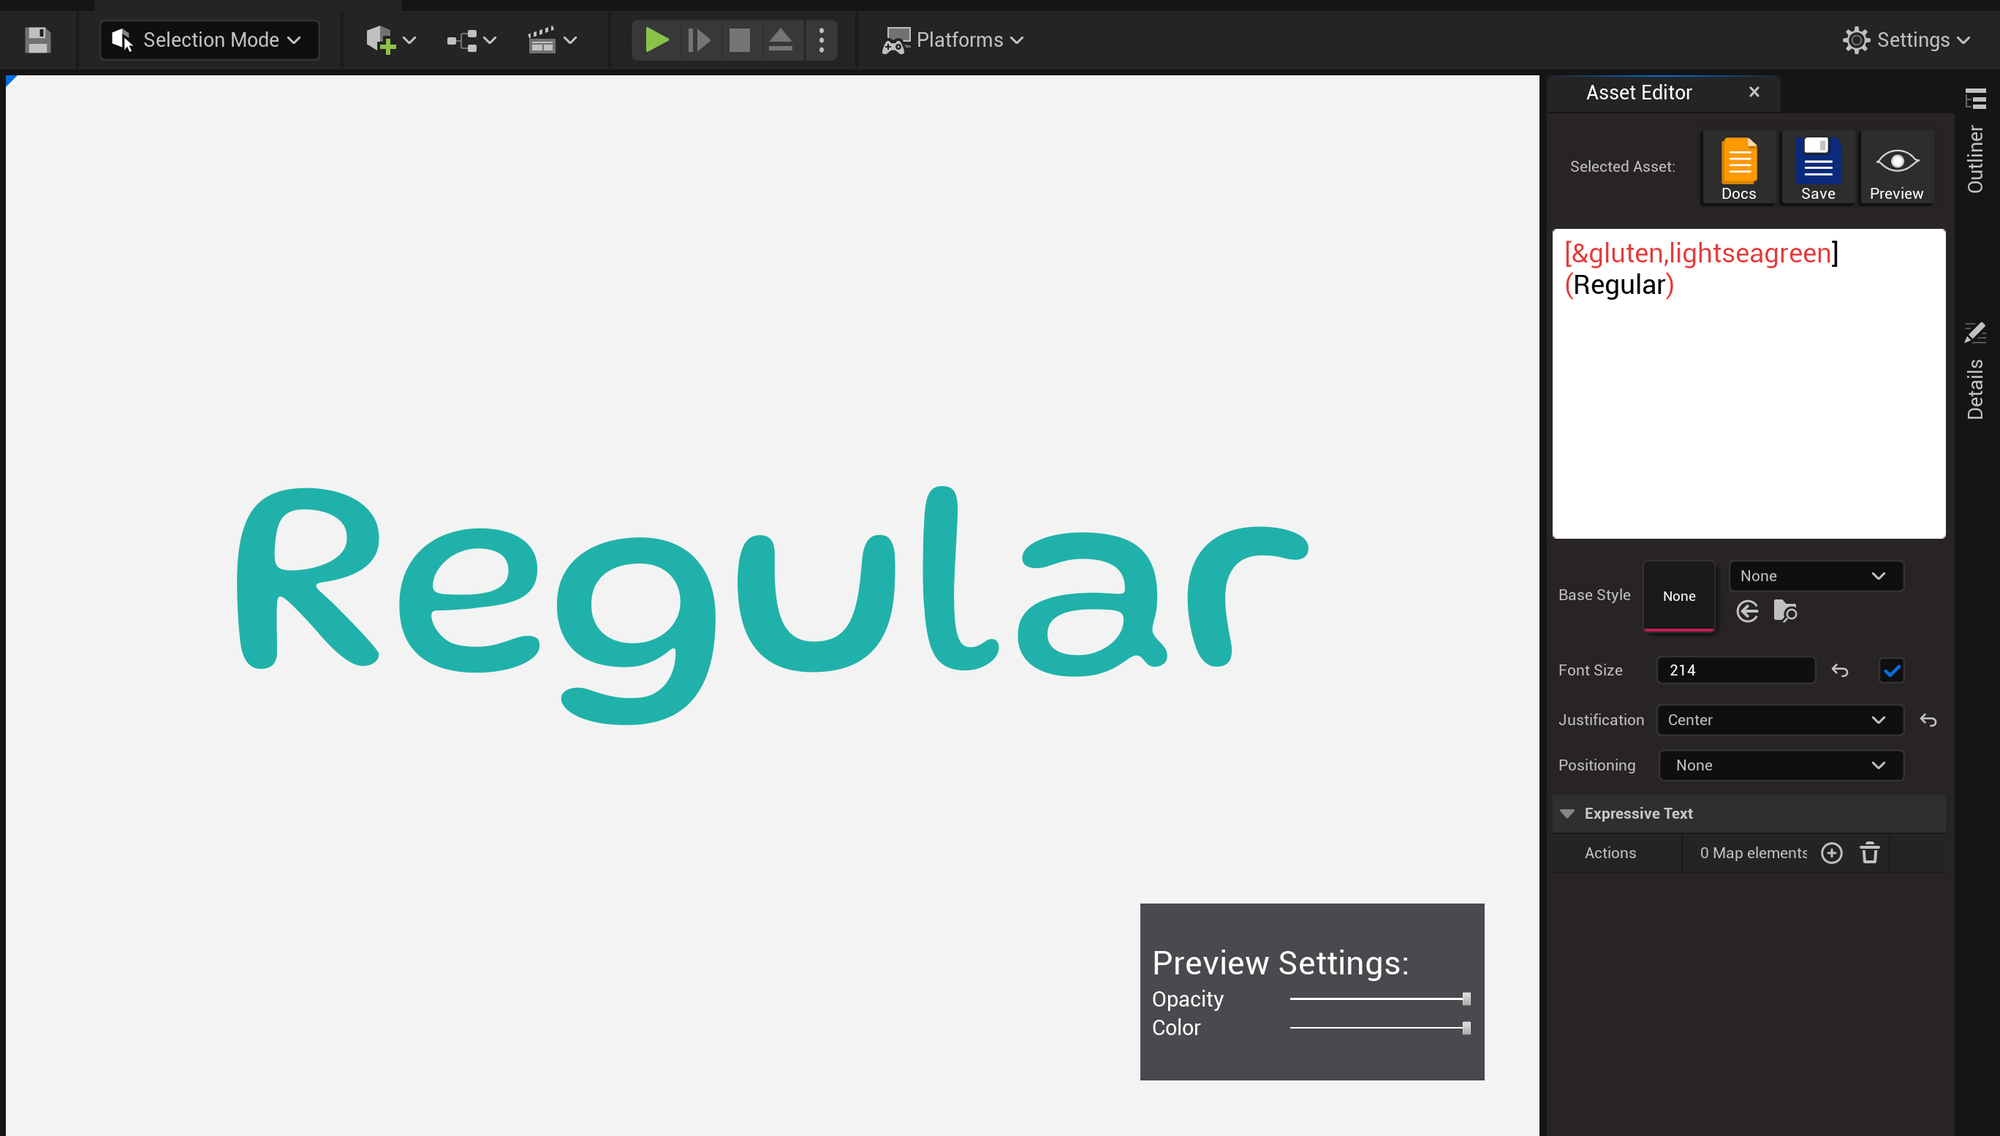
For this example, we’ll use the OFL Gluten font in its Regular and Bold typefaces.
After downloading your .TTF or .OTF files, start by dragging the regular typeface of your custom font to the content browser (or use method B, as shown above).
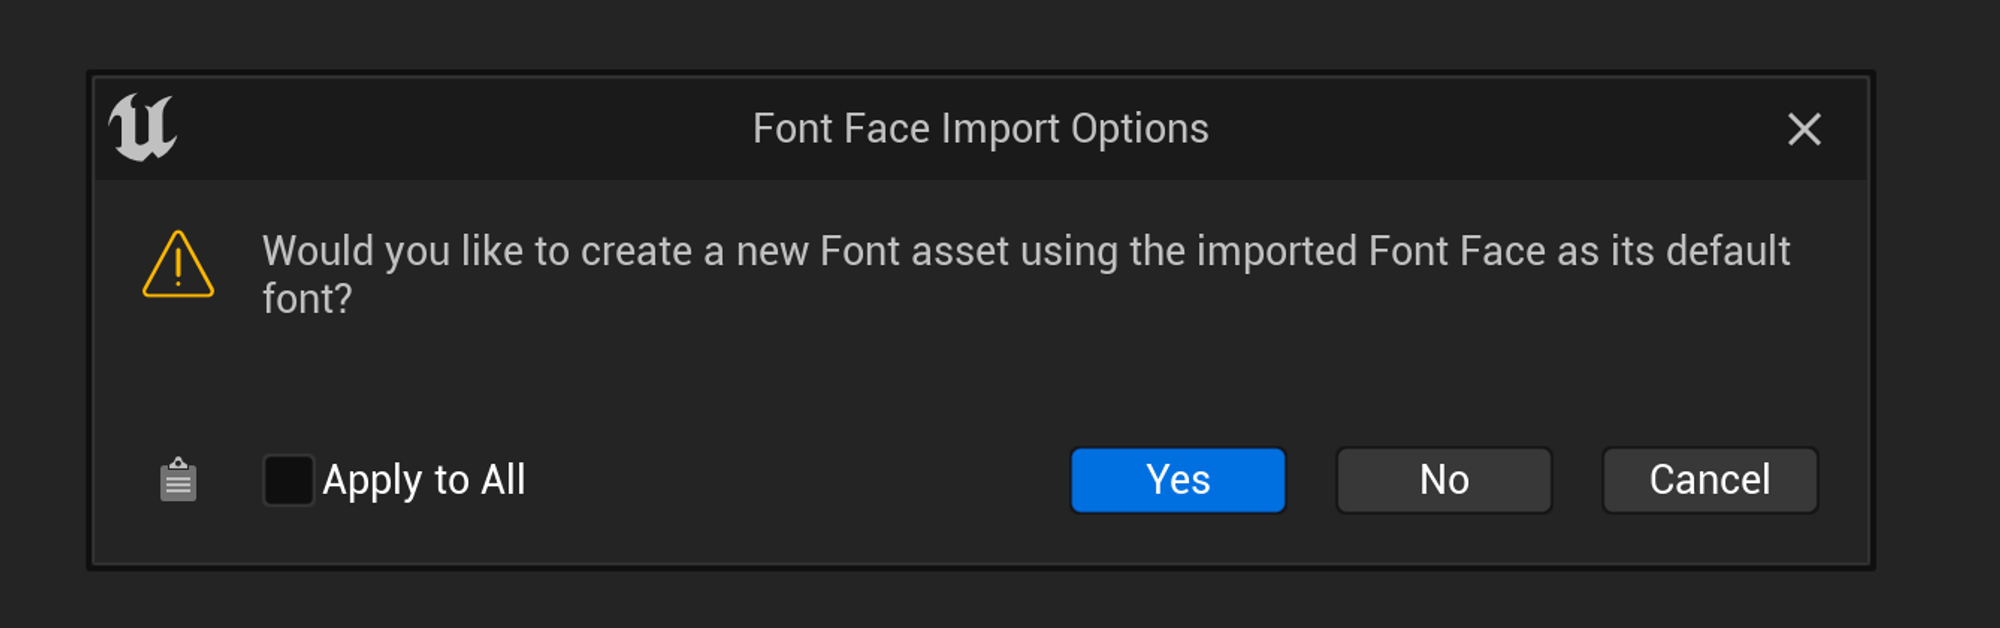
You’ll get a prompt asking to create a new Font asset using the imported Font Face as the default font, click Yes. It’s important to use the regular typeface of your variable font as this will be the default presentation.
After the files are generated, you should have something like this:
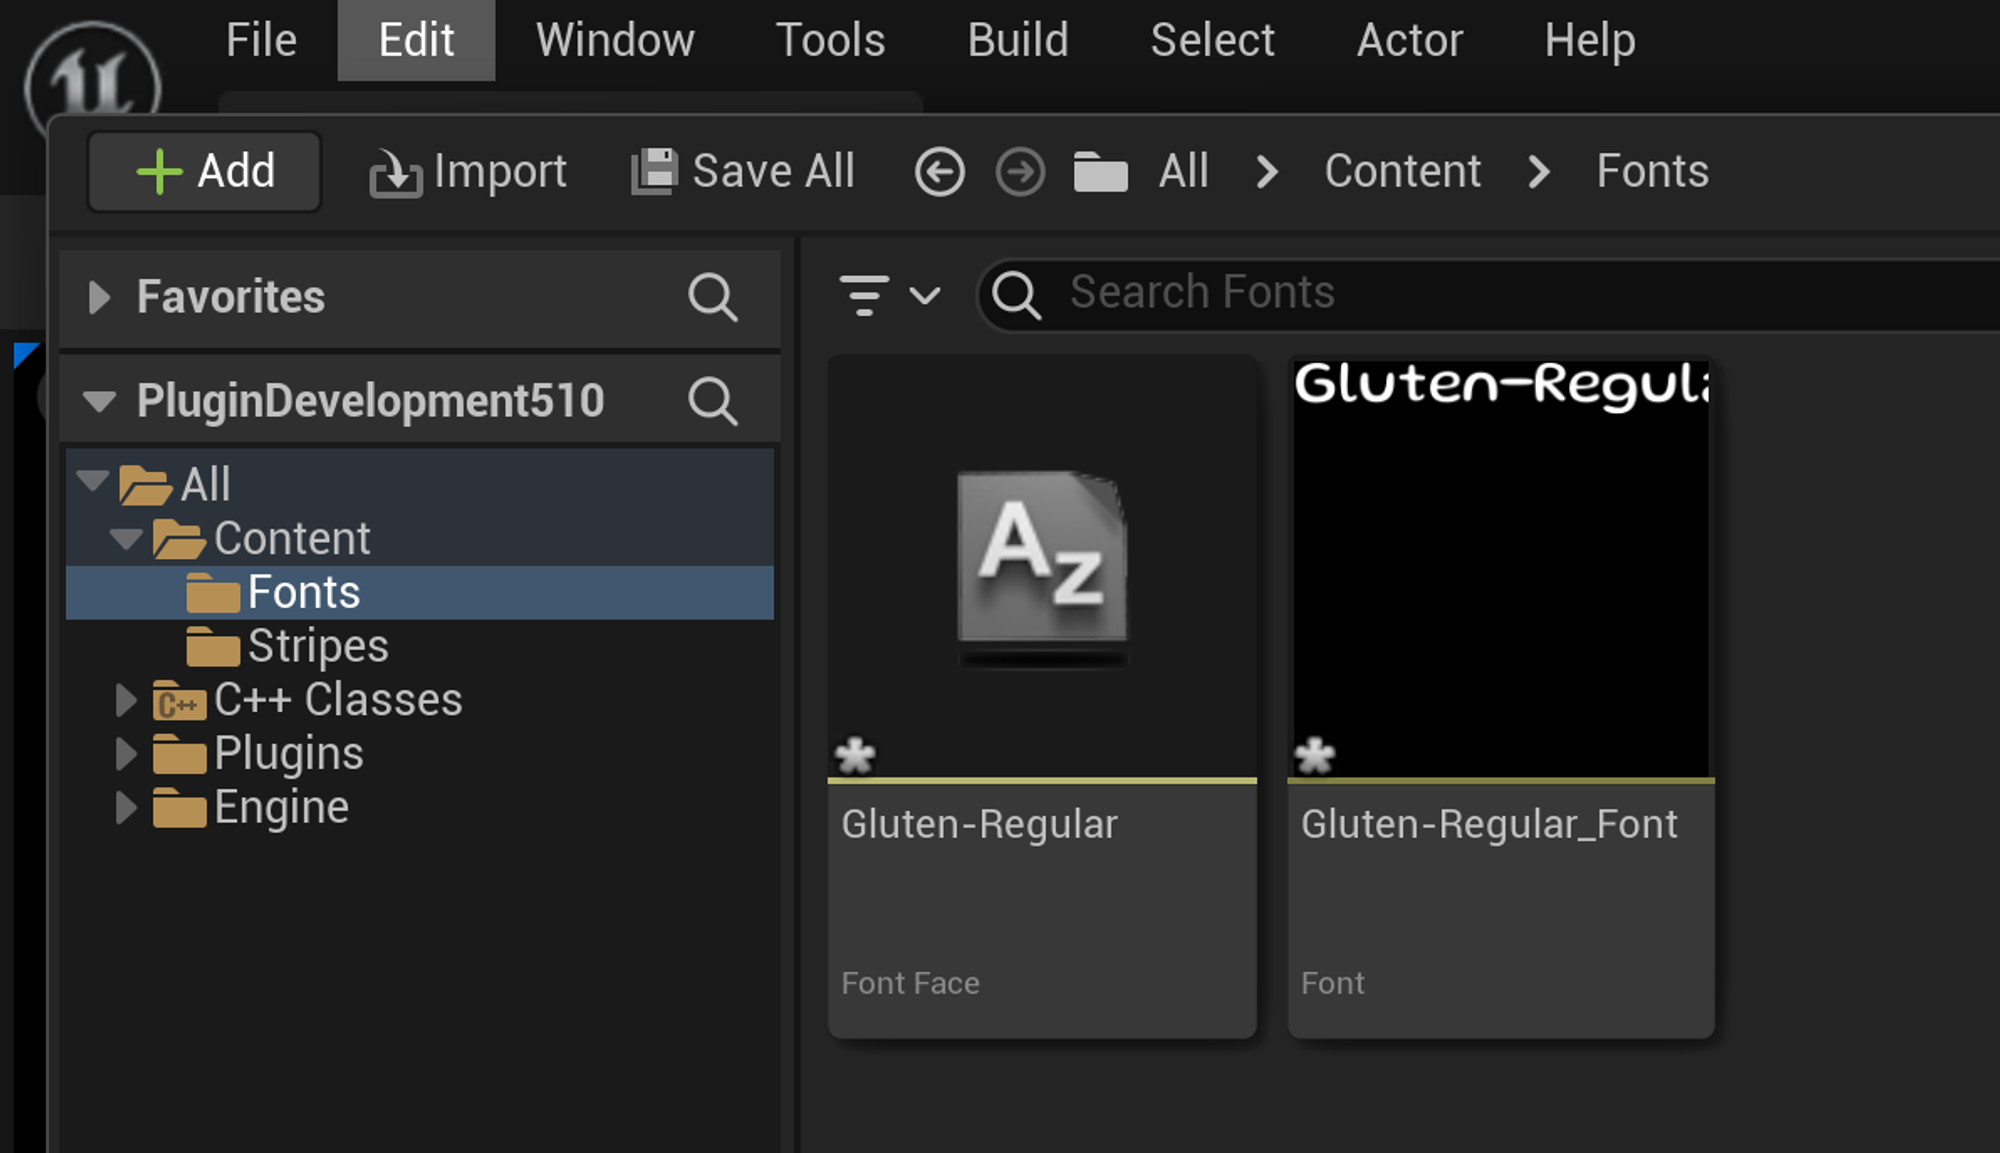
Rename the Font Asset to the font name (or other nomenclature you’re comfortable with), this will be the name found in the Style Editor and how to reference it by tags. In this case, we’ll simply rename it to “Gluten”.
Now to add the Bold typeface, open the Font asset and add a new font slot.
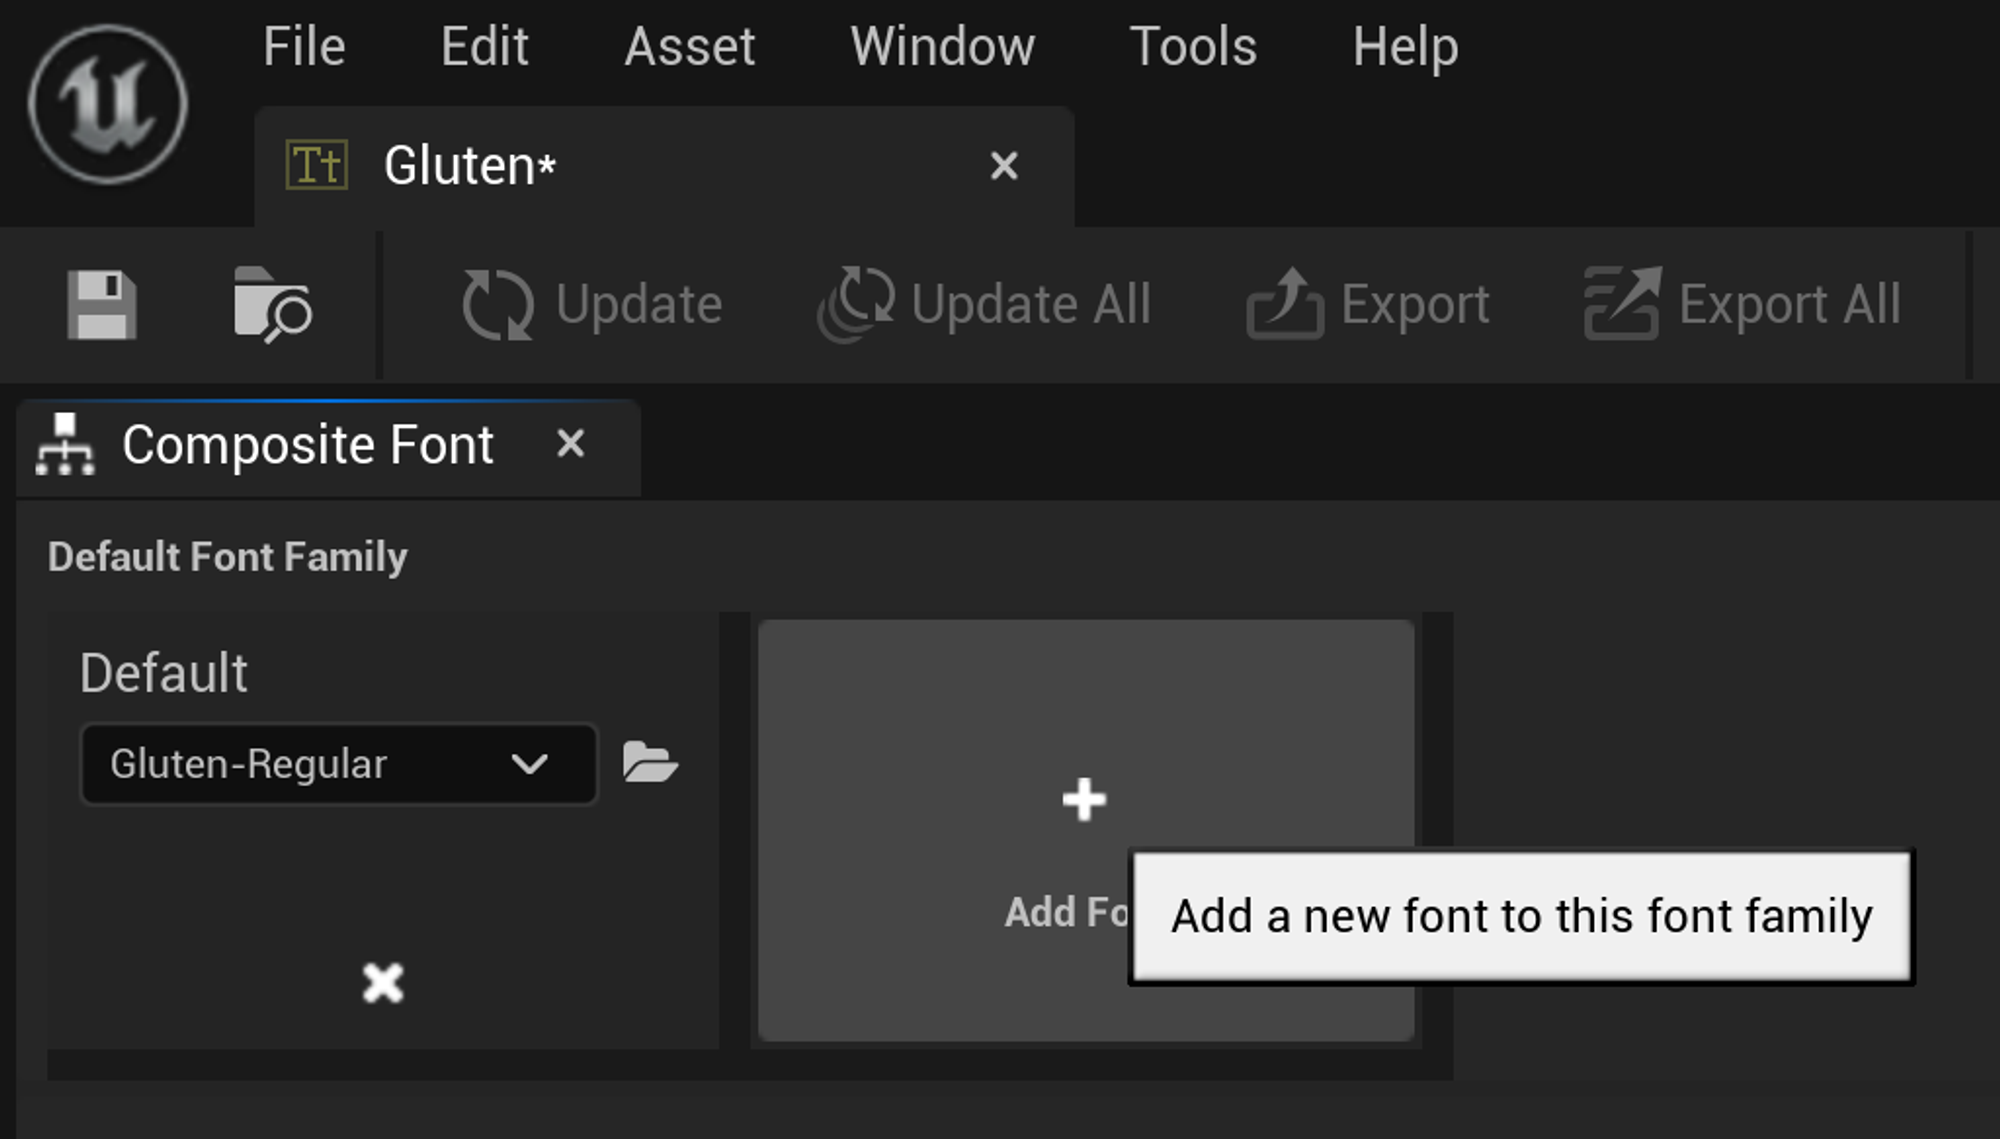
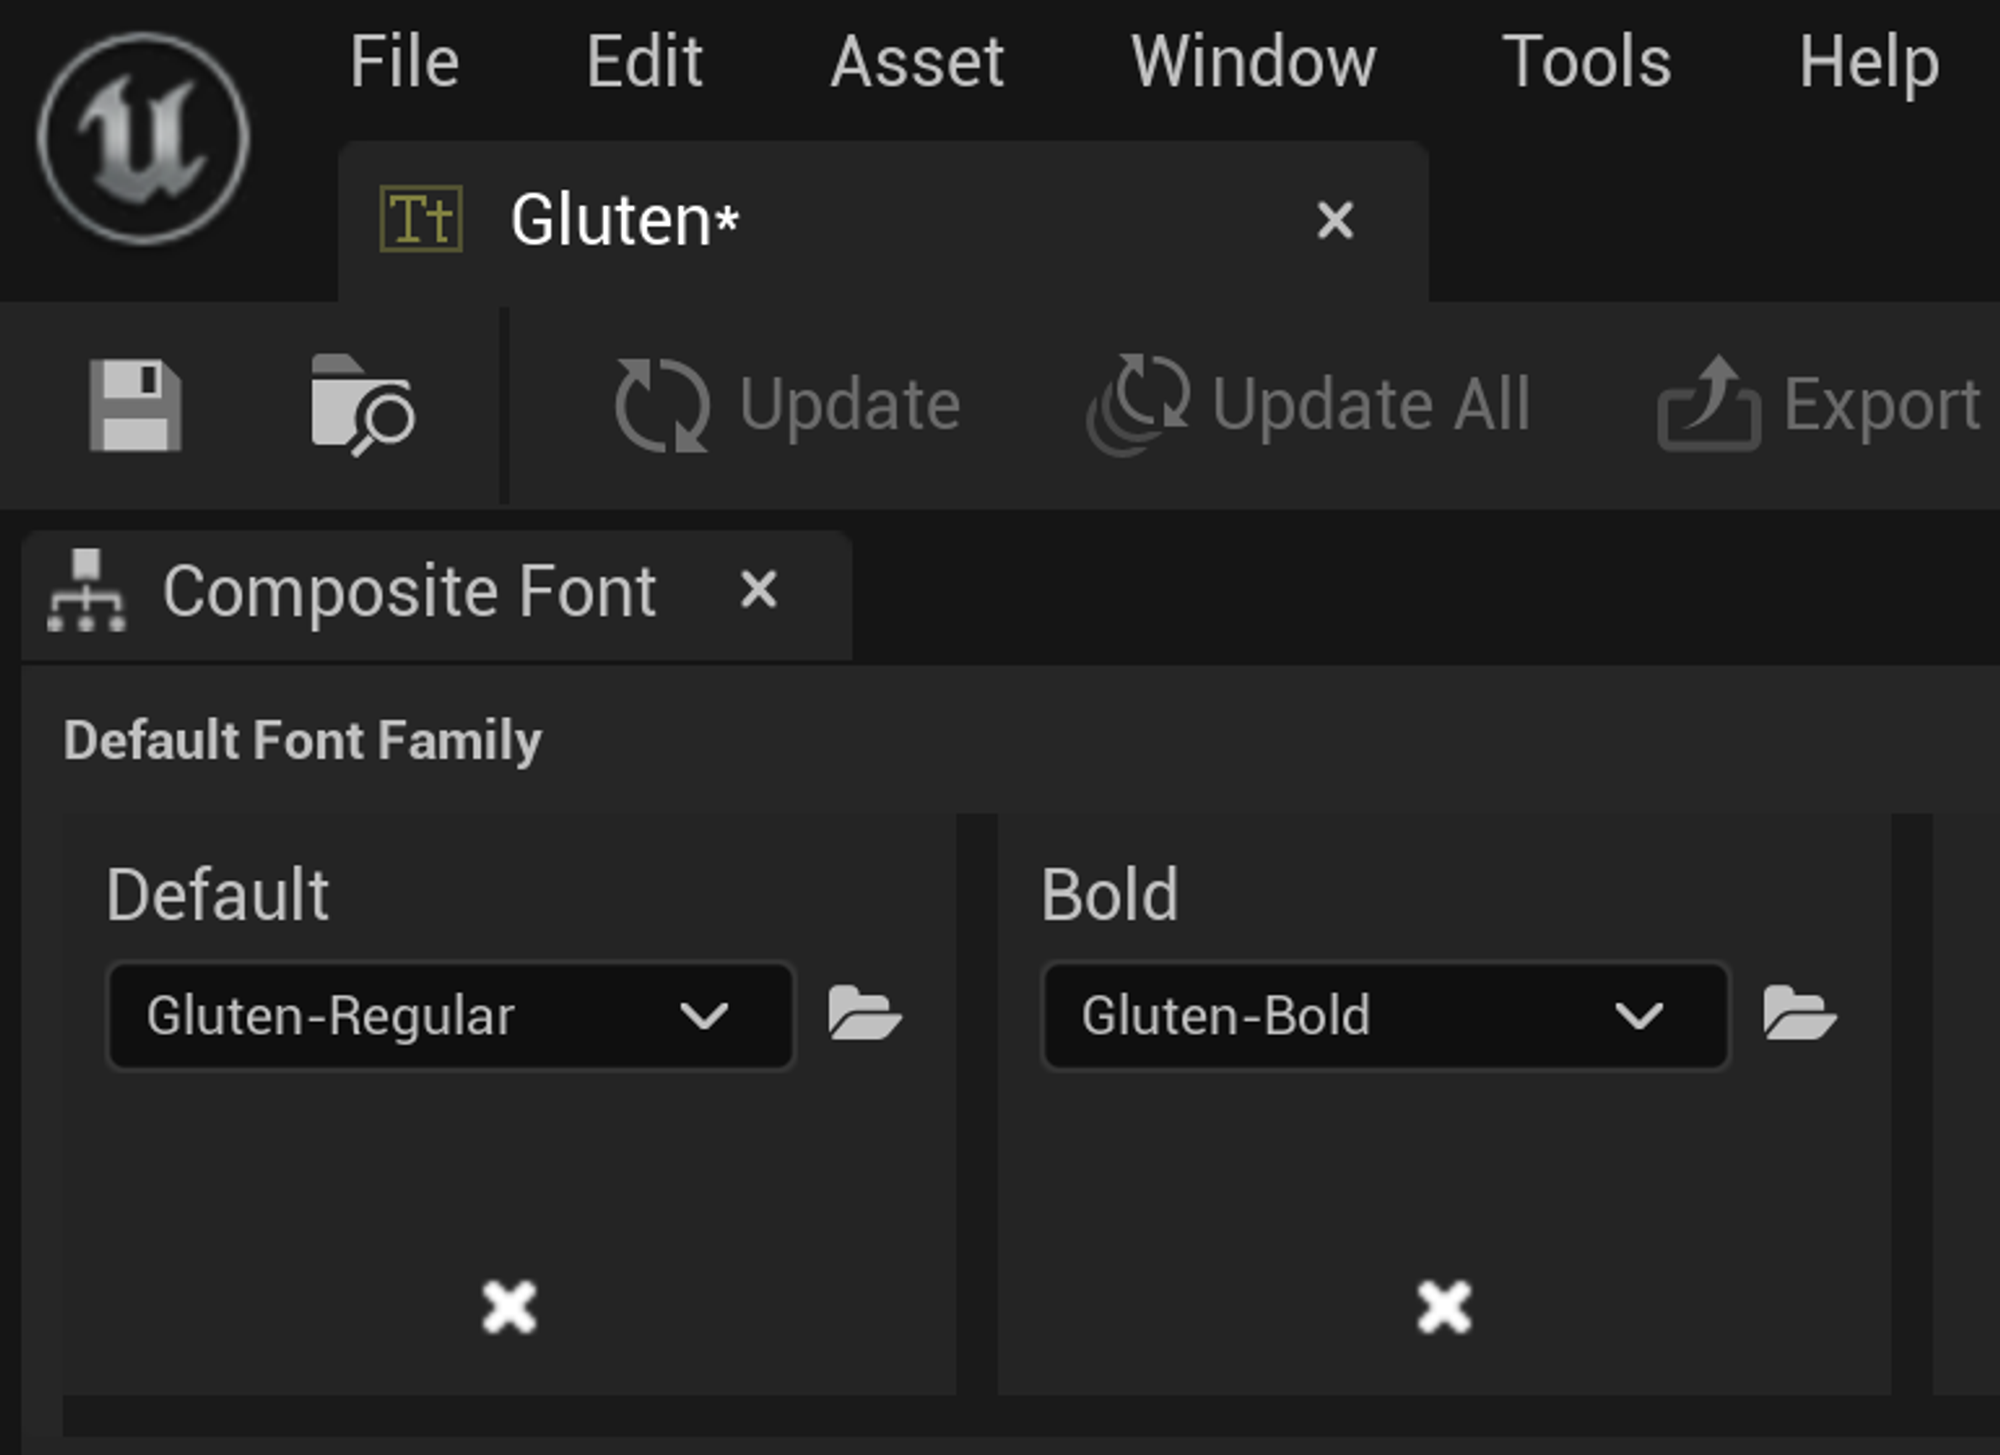
Rename it to Bold (or whichever typeface you’re adding) and import the custom font Bold file. It will prompt you to create and save a font face file. After that, you should have both font files allocated to their respective typefaces. Here’s how it looks:
Don’t forget to wrap your imported fonts on a ExpressiveTextFont asset!
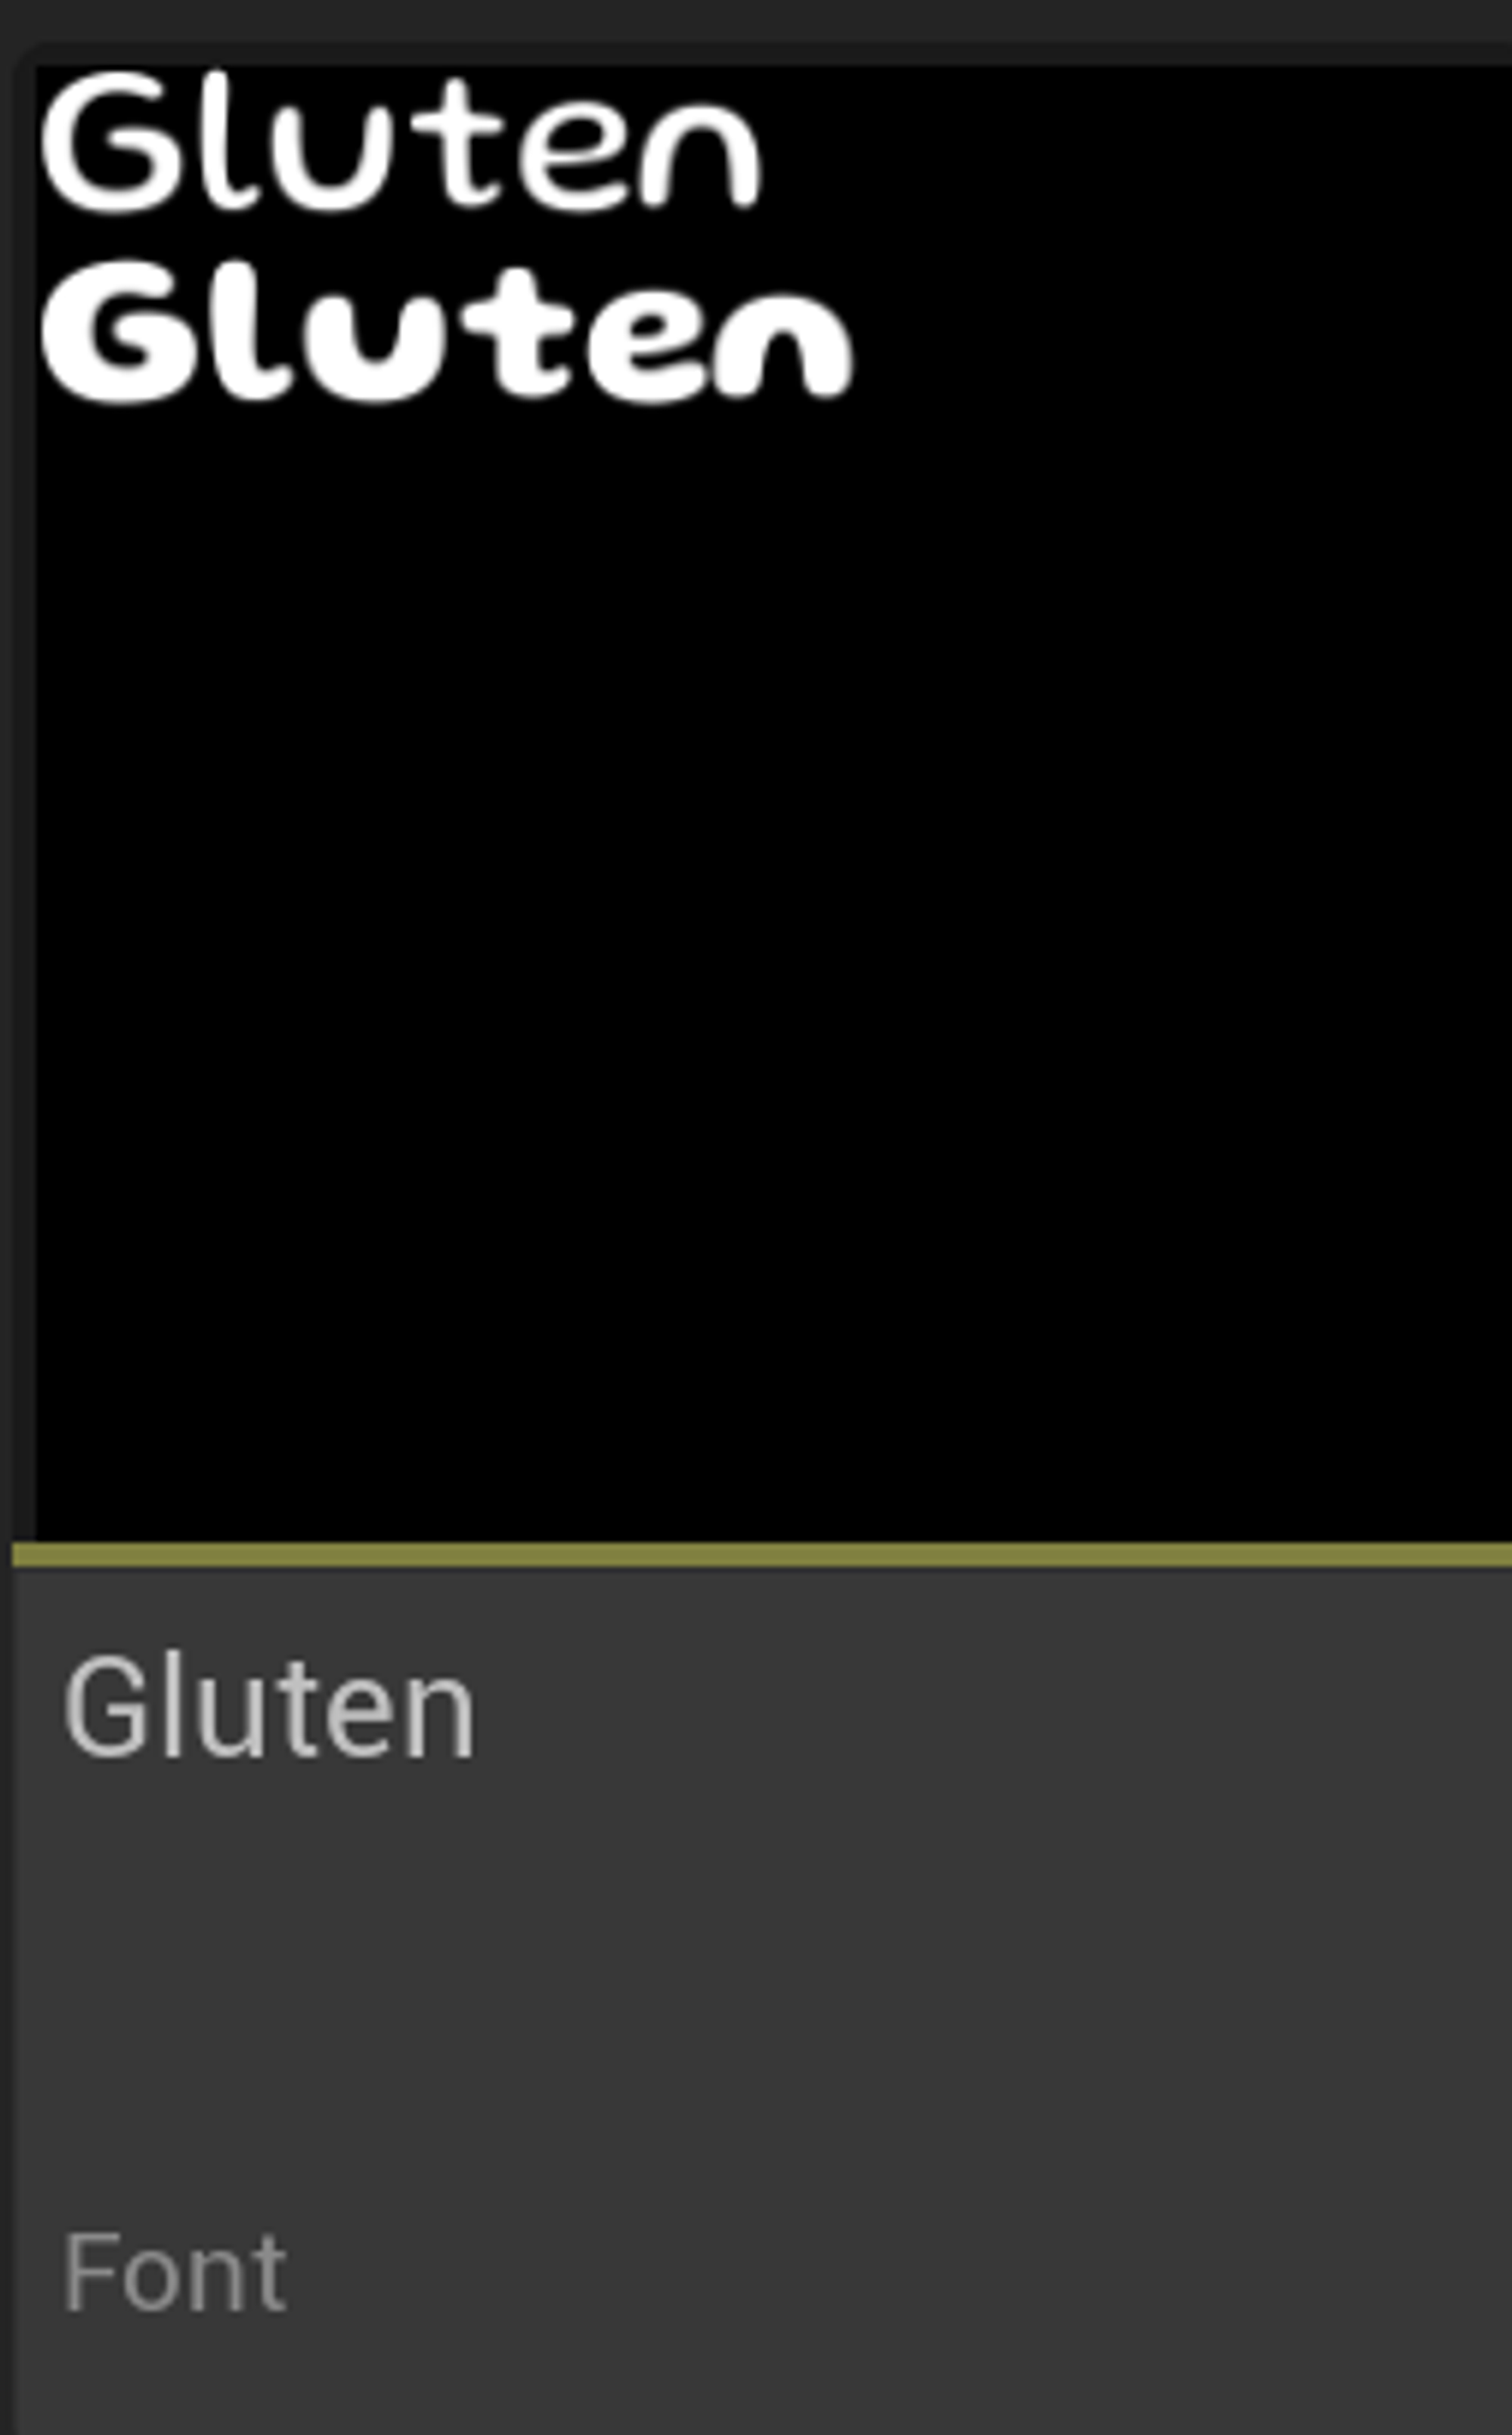
Using tags to reference the font in its Regular typeface and Bold typeface — simply adding the tag &Gluten to determine the font and adding *bold to change its typeface.

That’s it! You can now add all your custom fonts and apply animations/effects to your liking.